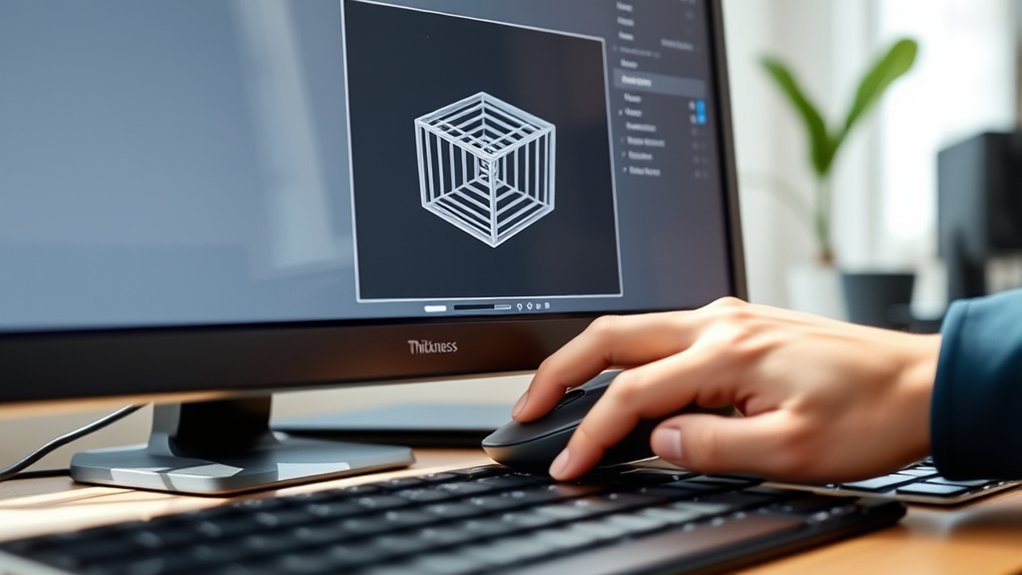
How to Make Objects Thicker in Blender
When you need to make objects thicker in Blender, choosing the right technique is essential to preserve your model’s integrity and details. Whether you opt for the Solidify modifier to add uniform depth, use the Extrude tool to selectively build volume, or quickly adjust thickness with Shrink/Fatten, each method impacts your topology differently.
Understanding how to control these tools and address common issues like normals and shading glitches will guarantee cleaner, more precise results. Taking the time to learn these approaches ensures your models maintain their quality throughout the thickening process.
Key Takeaways
- Use the Solidify modifier to add uniform thickness by extruding surfaces along normals with adjustable thickness and offset parameters.
- Select faces or edges and apply the Extrude tool to selectively thicken parts by moving geometry along normals or custom axes.
- Quickly adjust thickness by activating the Shrink/Fatten tool with Alt + S and moving the mouse to expand or contract geometry.
- Enable Even Thickness in the Solidify modifier and reinforce edge loops to preserve sharp details and maintain symmetry.
- Fix thickening issues by merging overlapping vertices, recalculating normals (Shift + N), and resolving non-manifold edges for clean topology.
How to Use the Solidify Modifier to Make Objects Thicker
How exactly do you make an object thicker in Blender without manually adjusting every vertex? The Solidify modifier offers an efficient thickness strategy that adds depth uniformly to your mesh. Once applied, it extrudes the surface along its normals, creating a solid shell.
You can control thickness precisely by adjusting the “Thickness” value, allowing you to visualize incremental changes in real-time. Importantly, the modifier maintains edge preservation by keeping sharp edges intact, avoiding distortion or unwanted smoothing.
This means your model’s silhouette stays crisp while gaining volume. Additionally, you can tweak the “Offset” parameter to determine the direction of thickness: either outward, inward, or centered. This approach streamlines your workflow, providing clean, consistent thickness without laborious vertex manipulation.
Make Objects Thicker With the Extrude Tool
While the Solidify modifier offers a quick way to add uniform thickness, using the Extrude tool gives you granular control over specific areas of your mesh. Select the faces or edges you want to thicken, then press E to extrude.
Move the extrusion along the normals or a custom axis to add thickness precisely where needed. This method lets you balance thickness vs volume by selectively increasing depth without uniformly inflating the entire object.
Pay close attention to edge preservation. Extruding can distort sharp edges if you’re not careful. Use vertex snapping or constrain movement to maintain clean, crisp edges.
Unlike the Solidify modifier, the Extrude tool lets you sculpt thickness variations, making it ideal for complex models requiring detailed volumetric adjustments with precise edge control.
Use the Shrink/Fatten Shortcut for Quick Thickness Adjustments
When do you need to quickly adjust the thickness of selected mesh elements without entering complex menus? The Shrink/Fatten shortcut in Blender provides an efficient method for quick thickness changes, especially useful for edge scaling. Here’s how to use it:
- Select the mesh elements (vertices, edges, or faces) you want to thicken.
- Press the Alt + S keys to activate the Shrink/Fatten tool. You’ll notice the mesh expanding or contracting along its normals.
- Move your mouse to increase or decrease thickness precisely. Confirm with a left-click or cancel with the right-click.
This shortcut manipulates the mesh along normals, making it ideal for uniform quick thickness adjustments without extra steps. Use it for rapid prototyping or fine-tuning your model’s volume efficiently.
Preserve Details When Increasing Object Thickness
Why is it essential to preserve fine details as you increase an object’s thickness in Blender? When thickening, maintaining thickness symmetry ensures your mesh expands evenly, preventing distortions that can blur intricate features.
You want to keep edge preservation tight. Sharp corners and delicate creases must remain crisp to avoid a muddy look. Use modifiers like Solidify with the “Even Thickness” option enabled to control thickness symmetry, ensuring uniform expansion.
Additionally, manually adjust edge loops near detailed areas to reinforce edge preservation, keeping your object’s shape intact. Employing these techniques helps you retain the model’s visual fidelity while enhancing volume.
This balance between thickness and detail ensures your object looks robust yet precise, preserving the original craftsmanship throughout the thickening process.
Fix Common Problems When Thickening Objects in Blender
How do you tackle common issues that arise when thickening objects in Blender? Addressing problems efficiently is crucial to maintain a smooth thickening workflow and clean mesh topology. Here’s how you can fix frequent issues:
- Intersecting Geometry: Check for overlapping faces created during extrusion. Use the “Merge by Distance” tool to clean vertices and avoid shading errors.
- Distorted Normals: Recalculate normals by selecting the mesh and pressing Shift+N. Proper normal direction ensures consistent thickening and shading across surfaces.
- Non-Manifold Edges: Identify and fix non-manifold edges by enabling “Select Non-Manifold” in edit mode. Eliminating these ensures the thickness operation produces watertight geometry without artifacts.
Frequently Asked Questions
Can I Make Objects Thicker Without Affecting Their UV Maps?
You can increase thickness without affecting UV maps by using a Solidify modifier, which preserves UV independence. This method boosts thickness texture visually, keeping your original UV layout intact, ensuring texture placement remains precise and unchanged.
How Do I Thicken Objects in Blender for 3D Printing?
You’ll want to use the solidify modifier in your thickening workflow, carefully adjusting thickness to respect your 3D printer’s thickness limitations. Visualize the offset edges as you tweak to guarantee structural integrity and printability.
Are There Keyboard Shortcuts to Toggle Thickness Tools?
You can’t assign default thickness shortcuts in Blender, but you can customize them in Preferences. Use the Solidify modifier to adjust thickness visually, and toggle Shade Smooth to see the shade impact on your model’s thickness.
Can I Animate Thickness Changes Over Time in Blender?
Absolutely, you can animate thickness transitions, tactically tweaking thickness in animation with keyframes. This controls the exterior shading dynamically, while UV mapping remains unaffected, preserving texture integrity and visual consistency throughout your precise Blender projects.
How Does Thickness Adjustment Affect Object Shading and Materials?
When you adjust thickness, you directly impact thickness versus shading. Thicker objects show deeper shadows and changes in light scattering.
Material thickness alters translucency, reflections, and refractions, so your shading reacts dynamically to these geometric variations.
Conclusion
To make objects thicker in Blender, use the Solidify modifier to add uniform depth quickly. You can also extrude faces when you need targeted volume in specific areas. Another handy method is applying the Shrink/Fatten shortcut for fast, interactive thickness adjustments.
Always preserve sharp edges by adding supporting geometry or using edge crease settings. Fix normals to ensure correct shading and merge vertices to keep your mesh clean and free of unnecessary duplicates.
Avoid shading glitches by checking for non-manifold geometry and reinforcing details with bevels or additional edge loops. Master these techniques, respect your topology, and control your mesh to achieve precise, reliable thickness every time you make objects thicker in Blender.