How to Clean Out a Toaster
If your toaster could talk, it would ask for a thorough toaster cleaning more often than you think. You’ll want to start by unplugging the unit and allowing it to cool completely to guarantee safety.
Then, systematically remove crumbs and stubborn grease that accumulate inside, which can affect performance and even pose a fire risk. Understanding the precise steps for this process will save you time and keep your appliance functioning at its best.
Key Takeaways
- Always unplug the toaster and ensure it is completely cool before starting any cleaning process.
- Remove and empty the crumb tray regularly to prevent buildup and maintain toaster function.
- Shake the toaster upside down gently to dislodge embedded crumbs from the interior.
- Use a soft brush or microfiber cloth dampened with a vinegar-water solution to clean interior and exterior surfaces.
- For stubborn stains, apply a baking soda paste on the exterior and wipe clean with a damp cloth.
Why You Should Clean Your Toaster Regularly
Although it may seem trivial, cleaning your toaster regularly prevents the buildup of crumbs and debris that can cause overheating or even fires. You’ll ensure that toaster maintenance extends the appliance’s lifespan and maintains optimal performance levels.
Neglected crumbs trap heat, increasing electrical resistance and posing fire hazards. Maintaining kitchen hygiene also reduces the risk of mold and bacteria growth within the toaster, which can contaminate your food.
By incorporating routine cleaning into your kitchen schedule, you systematically eliminate potential mechanical failures and health risks. This methodical approach to toaster maintenance safeguards both your appliance and your household environment, ensuring reliable operation and food safety.
Regular cleaning is an essential preventive measure to uphold kitchen hygiene and appliance efficiency.
Tools and Supplies Needed to Clean Your Toaster
Keeping your toaster free of debris and buildup requires specific tools and supplies to guarantee a thorough and safe cleaning process. You’ll need a soft-bristle brush or an old toothbrush to dislodge crumbs from tight spaces.
A soft-bristle brush or old toothbrush helps remove crumbs from hard-to-reach toaster spots.
A microfiber cloth is essential for wiping exterior surfaces without damaging the finish. If your toaster has a removable toaster crumb tray, prepare to extract and clean it separately to avoid moisture damage.
Use mild dish soap diluted in warm water for cleaning; avoid abrasive cleaners that can harm the nonstick coating. For nonstick coating care, never use metal utensils or harsh scrubbing pads, as they can degrade the surface.
Additionally, a can of compressed air can help remove crumbs lodged deep inside without disassembling the toaster.
How to Unplug and Prepare Your Toaster Safely
First, locate the power source and identify the toaster’s plug. Make sure the toaster is completely cool before you handle it.
Then, firmly grasp the plug and remove it from the outlet to ensure safety.
Locate The Power Source
Before you begin cleaning, make sure you unplug the toaster from the electrical outlet to eliminate any risk of electric shock. First, locate power by identifying the toaster’s power cord and tracing it to the outlet. Confirm the cord isn’t damaged or frayed before proceeding.
Once located, firmly grasp the plug, not the cord, and pull it straight out of the socket. This action ensures safe disconnect without damaging the cord. Observe all safety precautions: avoid touching the plug or outlet with wet hands, and ensure the area is dry.
Verify the toaster is completely disconnected by checking that no power indicator lights remain on. Properly locating and disconnecting the power source is essential to safely clean your toaster without electrical hazards.
Ensure Toaster Is Cool
How long should you wait to guarantee your toaster is cool enough to handle safely? Generally, allow at least 15 to 20 minutes after use for the toaster to cool down completely. Employ effective cool down techniques to prevent burns or electrical hazards.
Follow these essential safety reminders before proceeding:
- Avoid touching metal surfaces immediately after use. They retain heat.
- Place the toaster on a heat-resistant surface during the cool down period.
- Ensure no crumbs or debris are hot inside the toaster’s slots.
- Keep children and pets away from the appliance during this time.
Remove Plug From Outlet
Why is unplugging your toaster properly essential? It ensures your safety first by preventing electrical shock or damage during cleaning. Before handling the toaster, always make sure to unplug the cord from the outlet firmly by gripping the plug, not the cord, to avoid fraying or internal wire damage.
Follow this methodical approach:
| Action | Emotional Reminder |
|---|---|
| Grasp plug, not cord | Protect your device |
| Pull straight out | Avoid surprises |
| Confirm unplugged | Safety first, peace of mind |
| Inspect cord | Prevent future hazards |
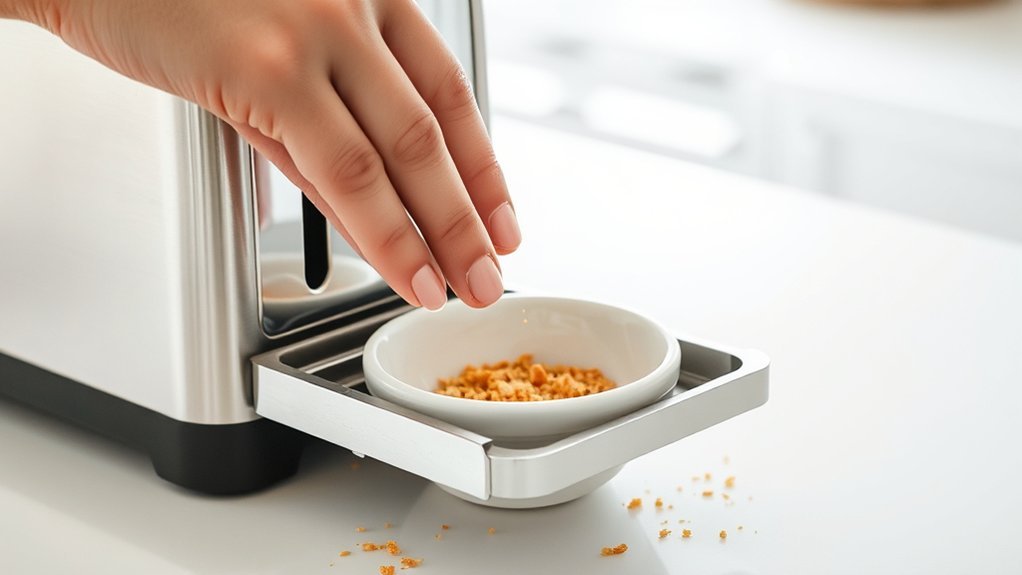
How to Remove Crumbs and Debris From Your Toaster
Regularly clearing out crumbs and debris from your toaster prevents buildup that can affect its performance and pose a fire hazard. To address toaster crumb matters effectively, focus on the crumb trays cleanup first. Remove the crumb tray carefully and discard all accumulated particles. Then, gently shake the toaster over a trash bin to dislodge any remaining debris. Use a soft brush or a dry cloth to reach tight spaces inside the toaster slots.
Key steps include:
- Unplug the toaster before cleaning
- Remove and empty the crumb tray thoroughly
- Shake toaster upside down to release embedded crumbs
- Brush interior surfaces carefully to avoid damage
Consistent crumb tray maintenance ensures optimal toaster function and safety.
How to Clean Stubborn Grease and Stains Inside Your Toaster
When grime and grease stubbornly cling inside your toaster, simple crumb removal won’t suffice. First, unplug the toaster and allow it to cool completely. Remove the crumb tray and wash it with warm, soapy water.
For toaster grease and stubborn stains inside, prepare a solution of equal parts white vinegar and water. Dampen a microfiber cloth or a soft-bristle brush with the solution, then carefully scrub the interior surfaces, avoiding electrical components.
Use cotton swabs dipped in the solution to reach tight corners. After scrubbing, wipe the interior with a clean, damp cloth to remove residue. Allow the toaster to air dry thoroughly before reassembling and plugging it back in.
This method effectively dissolves and removes baked-on toaster grease and stubborn stains without damaging the appliance.
How to Clean Your Toaster’s Exterior for a Like-New Look
After thoroughly cleaning the interior, turn your attention to the toaster’s exterior to restore its appearance. Effective toaster exterior care ensures a like new finish and prolongs the appliance’s lifespan. Begin by unplugging the toaster to guarantee safety.
After cleaning the interior, focus on the exterior to restore appearance and extend your toaster’s lifespan.
Use a soft cloth dampened with mild detergent to wipe the surface. Avoid abrasive materials to prevent scratches. For stubborn spots, apply a baking soda paste gently.
Key steps for toaster exterior care include:
- Use a microfiber cloth to avoid surface damage
- Apply mild cleaning agents for effective grime removal
- Avoid excess water to prevent electrical hazards
- Dry thoroughly to maintain a polished look
Following these steps methodically will help you achieve a clean, like new finish on your toaster’s exterior.
How Often to Clean Your Toaster for Best Performance
How often should you clean your toaster to maintain optimal performance? Regular toaster maintenance is essential to prevent crumb buildup, which can impair heating elements and cause uneven toasting.
For efficient crumb prevention and appliance longevity, cleaning frequency depends on usage intensity.
| Usage Frequency | Cleaning Interval |
|---|---|
| Daily | Weekly |
| Several times a week | Biweekly |
| Weekly | Monthly |
| Monthly | Every 2-3 months |
| Rarely | Every 6 months |
Frequently Asked Questions
Can I Use a Dishwasher to Clean Toaster Parts?
You shouldn’t use dishwasher cleaning for toaster parts, as high heat and water can damage them. Instead, rely on vacuum safety techniques to remove crumbs and debris carefully, preserving the toaster’s electrical components and overall integrity.
Is It Safe to Use a Vacuum Cleaner Inside a Toaster?
Think of vacuuming a toaster like using a magnet near electronics. It risks damage. You shouldn’t use a vacuum inside due to vacuum safety concerns and metal object danger, which can cause sparks or short circuits.
How Do I Fix My Toaster if It’s Not Heating Evenly?
You’ll want to start toaster troubleshooting by inspecting heating elements for damage or debris causing uneven heating. Next, test the thermostat and wiring connections.
Replace faulty parts to restore consistent heat distribution efficiently and safely.
Can I Put Metal Objects Inside the Toaster to Clean It?
Metal objects are a red flag waving inside your toaster. Never insert them. For toaster safety, avoid metal to prevent electric shocks or damage.
Use non-metal tools or unplug before cleaning to keep your appliance safe and functional.
Does Cleaning My Toaster Affect Its Warranty?
Cleaning your toaster using manufacturer-approved methods generally won’t void warranty considerations. Avoid abrasive materials or metal objects inside, as improper cleaning methods can damage components and potentially affect your warranty coverage.
Always follow the manual instructions.
Conclusion
Regularly cleaning your toaster isn’t just about appearance—it’s essential for safety and performance. Did you know that 34% of kitchen fires originate from appliances like toasters clogged with crumbs? By following the outlined steps—unplugging, removing crumbs, tackling grease, and wiping the exterior—you’ll reduce fire risk and maintain efficiency.
Clean your toaster every one to three months, depending on use, to ensure it operates reliably and safely every time you toast. Maintaining a clean toaster is key to preventing hazards and extending the life of the appliance.
Make cleaning out a toaster a regular habit to keep your kitchen safe and your toaster working at its best.