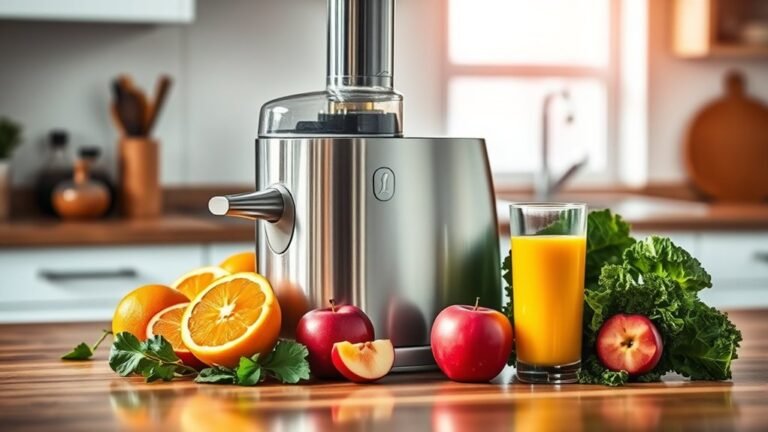
How to Use a Juicer
When you use a juicer, setting it up correctly is key to getting the best results from your juicer. You’ll want to assemble all parts securely, prepare your produce by washing and cutting it to fit, and feed it in slowly to avoid jams.
Proper cleaning afterward prevents mold and keeps your machine running smoothly. These steps might seem simple, but mastering them can make a significant difference in your juicing experience.
Key Takeaways
- Thoroughly wash and prepare fruits and vegetables by peeling thick skins and trimming spoiled parts before juicing.
- Assemble the juicer correctly, ensuring all parts are securely attached and the lid is firmly in place.
- Feed produce slowly into the juicer to avoid jams and collect juice in a clean container.
- Use a dedicated power outlet and verify safety locks are engaged before turning on the juicer.
- Disassemble and clean all juicer parts immediately after use to prevent pulp drying and maintain hygiene.
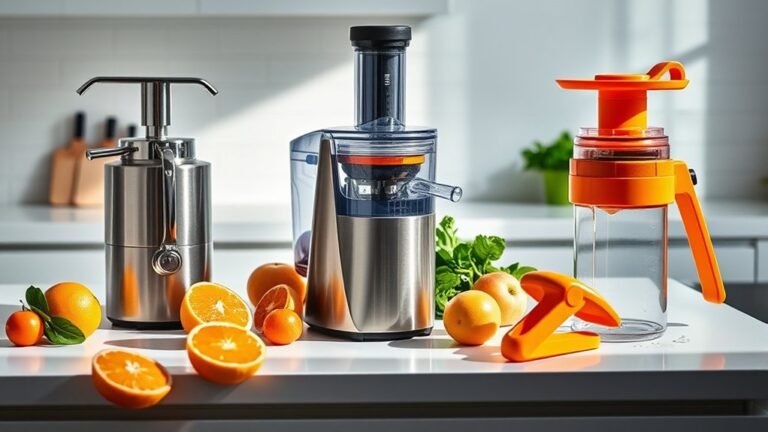
How To Choose The Right Juicer For You
How do you choose the right juicer for your needs? Start by considering how often you’ll use it and the types of fruits and vegetables you prefer. If you want budget friendly juicing, look for models that balance cost with durability and easy cleaning.
Keep juicing etiquette in mind. Choosing a quieter juicer can make your morning routine more pleasant for others. Centrifugal juicers work fast and are usually less expensive, while masticating juicers extract more nutrients but cost more and take longer.
Evaluate your kitchen space and storage options too. By focusing on these practical aspects, you’ll find a juicer that fits your lifestyle without overspending or causing hassle, making your juicing experience efficient and enjoyable.
Preparing Fruits And Vegetables For Juicing
When preparing fruits and vegetables for juicing, what you do beforehand can substantially impact both the flavor and nutrient content of your juice. Start by thoroughly washing all produce to ensure fruit safety, removing dirt, pesticides, and bacteria. Use cold water and a brush for firmer items like apples and carrots.
Next, peel thick-skinned fruits such as oranges or pineapples, as their rinds can add bitterness. Trim any bruised or spoiled parts to avoid off-flavors. Follow proper storage tips by refrigerating produce promptly to preserve freshness and nutrients before juicing.
Also, consider juicing fruits and vegetables soon after preparation to minimize nutrient loss. By following these practical steps, you’ll maximize the quality and health benefits of every glass you make.
How To Assemble And Set Up Your Juicer
Start by identifying each component of your juicer to ensure you have all the necessary parts.
Next, connect the power cord and assemble the pieces according to the manufacturer’s instructions.
Finally, secure the juicer lid firmly to prevent leaks and ensure safe operation.
Identifying Juicer Components
What parts make up your juicer, and how do they fit together? Understanding each component ensures smooth assembly and optimal use. Juicer aesthetics vary by brand, but core parts remain consistent.
Here’s what you’ll typically find:
- Feeding chute where you insert fruits and vegetables; size affects juicer efficiency.
- Juicing mechanism usually includes blades or augers that extract juice.
- Juice container collects the extracted juice; its design impacts ease of pouring.
- Pulp container captures leftover pulp; its capacity varies across brands.
When comparing brands, pay attention to how these parts fit and their material quality. This knowledge helps you appreciate both the functional and aesthetic differences, guiding you to assemble your juicer correctly and efficiently.
Connecting Power And Parts
Several key steps ensure your juicer is assembled correctly and powered safely before use. First, align and securely attach all parts according to the manufacturer’s instructions to prevent leaks or malfunctions.
Next, plug the juicer into a dedicated outlet, avoiding extension cords that may cause transformer overload and damage. To keep your workspace tidy and safe, use tips for cord storage such as wrapping the cord loosely around the base or using built-in cord compartments if available.
Ensure the power switch is off before plugging in, and double-check that all components are firmly in place. Following these practical measures helps maintain your juicer’s longevity and ensures safe operation every time you use it.
Securing The Juicer Lid
How exactly do you secure the juicer lid to guarantee safe and efficient operation? Properly fastening the lid addresses security concerns and ensures your juicer runs smoothly without leaks or accidents. Follow these steps to secure it correctly:
- Align the lid with the juicer’s base, ensuring all locking tabs fit into their slots.
- Press down firmly until you hear a click, indicating the lid is locked in place.
- Check for any gaps or misalignment; an improperly secured lid can trigger safety locks.
- Review your juicer’s warranty details to confirm proper assembly is maintained, as incorrect lid placement may void coverage.
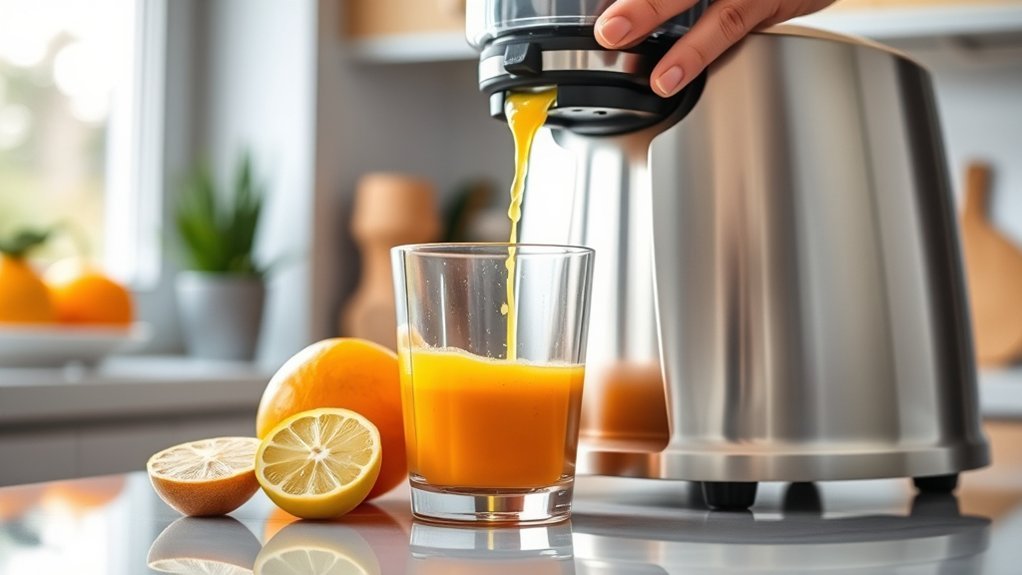
Step-By-Step Guide To Juicing Your Produce
A successful juicing session starts with properly preparing your produce. Begin by washing fruits and vegetables thoroughly to remove dirt and pesticides. This is a key safety consideration.
Next, peel or trim any tough skins or stems that could damage your juicer or affect juice quality. Cut produce into sizes that fit your juicer’s feed chute.
Assemble your juicer following manufacturer instructions and ensure the lid is securely in place. Turn on the machine and slowly feed the produce through, avoiding overloading to prevent jams.
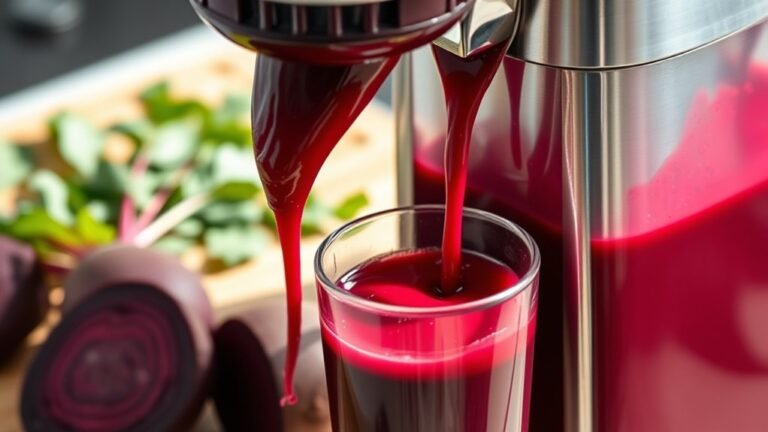
Collect juice in a clean container for immediate consumption or storage. If you plan to market your juices, highlight your attention to safety considerations and fresh, quality ingredients to build customer trust and boost marketing ideas effectively.
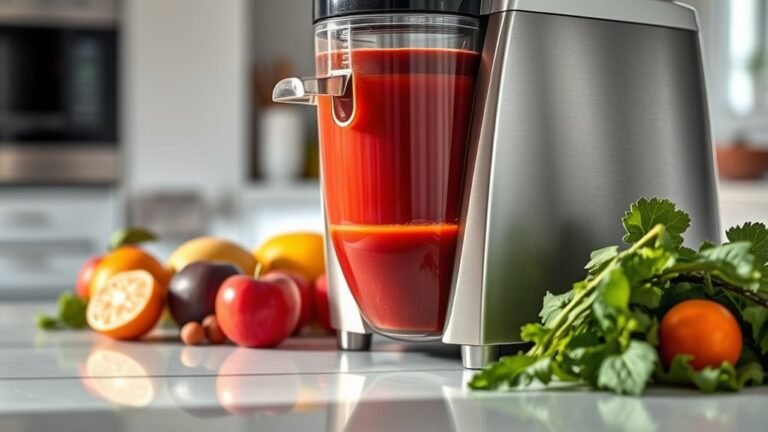
Create Balanced And Tasty Juice Recipes
Why settle for bland when you can craft juices that delight your palate and nourish your body? Creating balanced and tasty juice recipes involves understanding flavor pairing and even exploring creative fermentation for added depth.
Here’s how you can get started:
- Combine sweet and tart fruits like apple and lemon to balance acidity and sweetness.
- Add leafy greens or herbs to introduce earthy flavors and boost nutrients.
- Experiment with creative fermentation by letting your juice sit briefly to develop complexity.
- Adjust ingredient ratios gradually, tasting as you go to find your perfect blend.
How To Store Fresh Juice To Keep It Tasting Great
To keep your fresh juice tasting great, choose airtight containers made of glass or BPA-free plastic to minimize oxidation. You should refrigerate your juice immediately after juicing and consume it within 24 to 48 hours for the best flavor and nutrient retention.
Proper storage slows down spoilage and helps maintain the juice’s freshness longer.
Optimal Container Choices
How long your fresh juice stays delicious depends largely on the container you choose for storage. To keep your juice fresh and flavorful, consider these suitable container choices:
- Use glass bottles with airtight lids. Glass is non-reactive, preserving taste without leaching chemicals.
- Avoid plastic containers that can degrade juice quality over time and affect flavor.
- Choose containers that fit your juice quantity to minimize air exposure, which accelerates oxidation.
- Consider reusable bags designed for liquids, but ensure they seal well and are BPA-free.
After juicing, composting scraps instead of discarding them reduces waste and benefits your garden. By selecting the right container, you maintain juice freshness longer, reduce waste, and enjoy the full nutritional value of your homemade juice.
Refrigeration Timing Tips
Choosing the right container sets the stage, but timing your refrigeration plays a big role in keeping your juice fresh. To preserve flavor and nutrients, refrigerate your juice within 30 minutes of juicing. Delaying can accelerate oxidation, which diminishes both taste and vitamin content.
Contrary to some nutrition myths, juice doesn’t last longer at room temperature. Also, avoid common fruit prep misconceptions like washing juice after extraction; it reduces nutritional benefits.
Store juice in airtight containers filled to the brim to limit air exposure, slowing nutrient loss. Consume fresh juice within 24 to 48 hours for optimal taste and health benefits.
Following these timing tips ensures you enjoy your juice at its freshest, maximizing both flavor and nutrition without unnecessary waste.
Cleaning Your Juicer Quickly And Effectively
A clean juicer not only guarantees better-tasting juice but also extends the appliance’s lifespan. Developing healthy habits around cleaning prevents buildup and keeps your kitchen ergonomics efficient. Follow these steps to clean your juicer quickly and effectively:
- Disassemble the juicer immediately after use to prevent pulp from drying.
- Rinse parts under warm water to remove residue, avoiding harsh scrubbing.
- Use a soft brush to clean the mesh filter, essential for removing clogged fibers.
- Dry all components thoroughly before reassembling to prevent mold or odors.
Juicing Mistakes To Avoid
Why do some juicing efforts fall short of expectations? Often, it’s due to overlooking key juicer accessories that enhance efficiency and flavor extraction. For example, using a pulp container or cleaning brush can save time and improve juice quality.
Another common mistake is ignoring juice flavor theory. Balancing sweet, tart, and bitter ingredients is crucial for enjoyable juice. You don’t want your juice to be too bitter or overly sweet.
Also, pressing hard on produce can strain your juicer and reduce yield. Instead, feed ingredients steadily and let the machine do the work.
Lastly, skipping preparation, like peeling thick-skinned fruits or chopping large items, can clog your juicer. Avoid these pitfalls to maximize both your juicer’s lifespan and your juice’s taste.
How To Troubleshoot Common Juicer Problems
If your juicer won’t start, first check the power connection and safety locks.
Slow juicing speed often signals a clogged chute or dull blades that need cleaning or replacement.
Unusual noises usually mean something’s stuck or the motor is strained, so inspect and clear any obstructions promptly.
Juicer Won’t Start
Often, juicers won’t start due to simple issues you can quickly fix yourself. Before diving into complex troubleshooting, rule out non juicer topics or unrelated issues like power outages or tripped circuit breakers.
Here’s how to get your juicer running:
- Check the power source: Ensure the juicer is plugged in securely and the outlet works by testing with another device.
- Inspect the safety lock: Many juicers won’t start unless all parts are correctly assembled and locked in place.
- Examine the motor base: Look for overheating signs; some models have thermal protection that temporarily disables the motor.
- Reset or replace the fuse: If your juicer has a fuse, a blown one can prevent starting. Replace it if necessary.
Addressing these steps often solves the problem efficiently.
Slow Juicing Speed
How can you tell when your juicer is working slower than it should? You might notice it takes longer to extract juice or that pulp is wetter than usual. Slow juicing speed often results from clogged filters or dull blades.
Start by disassembling your juicer and carefully cleaning the mesh filter and auger to remove residue. If you frequently juice fibrous ingredients, like ginger for a ginger boost, buildup can happen faster.
Also, check if the motor is overheating or struggling under heavy loads. Using softer items or adding a little lemon zest can help maintain efficient flow and reduce strain.
Regular maintenance, including thorough cleaning and occasional blade sharpening or replacement, keeps your juicer running smoothly and prevents slowdowns.
Unusual Noise Issues
What causes unusual noises in your juicer, and how can you quickly identify the problem? Unusual noises often signal mechanical issues or blockages. To troubleshoot effectively, follow these noise solutions:
- Check for blockages: Inspect the feed chute and juicing chamber for stuck pulp or seeds causing grinding sounds.
- Inspect assembly: Ensure all parts are securely and correctly assembled; loose components can rattle.
- Examine the motor: Listen for high-pitched or burning noises indicating motor strain. Regular motor maintenance like cleaning vents prevents overheating.
- Lubricate moving parts: Some juicers require lubrication to reduce friction and noise. Consult your manual.
Build Juicing Routines To Boost Your Health
Establishing a consistent juicing routine can notably enhance your overall health by ensuring you regularly consume a variety of essential nutrients. Start by selecting diverse fruits and vegetables, considering color psychology to target specific benefits: green for detoxification, orange for immunity, and red for heart health.
Stick to juicing etiquette by prepping ingredients properly and cleaning your juicer promptly to maintain hygiene and efficiency. Schedule your juicing sessions at times that suit your lifestyle, like mornings for an energy boost or afternoons for a nutrient pick-me-up.
Track your progress to identify what combinations work best for you. By integrating juicing into your daily routine thoughtfully, you’ll build sustainable habits that support long-term wellness and maximize the health benefits of fresh juices.
Frequently Asked Questions
Can Juicing Help With Weight Loss?
Juicing can support weight loss if you focus on calorie control, but don’t fall for weight loss myths promising quick fixes.
Use juicing alongside a balanced diet and exercise for sustainable, healthy results.
Are There Any Health Risks Associated With Juicing?
About 30% of essential nutrients can be lost in juicing, so yes, health risks like nutrient loss and blood sugar spikes exist.
You should balance juicing with whole foods to minimize these risks effectively.
How Does Juicing Compare to Blending?
Juicing vs blending differs mainly in fiber content; juicing removes pulp, giving quicker nutrient absorption, aiding weight loss perks.
Blending keeps fiber, promoting fullness. You’ll choose juicing for rapid nutrients, blending for satiety and digestion.
What Are the Best Fruits for Juicing Detox?
For the best fruits in juicing detox, choose citrus, apples, and berries. They boost detox benefits and weight loss. Pair with leafy greens using appropriate attachments, but watch for health risks from overconsumption compared to blending’s fiber retention.
Can I Juice Leafy Greens Without a Special Attachment?
You don’t need a special attachment to juice leafy greens; many juicers handle them well. However, using one can boost efficiency and yield.
Conclusion
Now that you know how to pick, prep, and clean your juicer, you’re all set to enjoy fresh, nutritious juice every day. It’s funny how a simple routine—assembling parts, feeding produce slowly, and cleaning thoroughly—makes all the difference between a jammed machine and a perfect pour.
Follow these steps, avoid common mistakes, and you’ll boost your health effortlessly. Your juicer isn’t just a gadget; it’s your easy path to vibrant wellness. Using a juicer daily can transform your lifestyle by providing a convenient source of essential nutrients and delicious flavors.