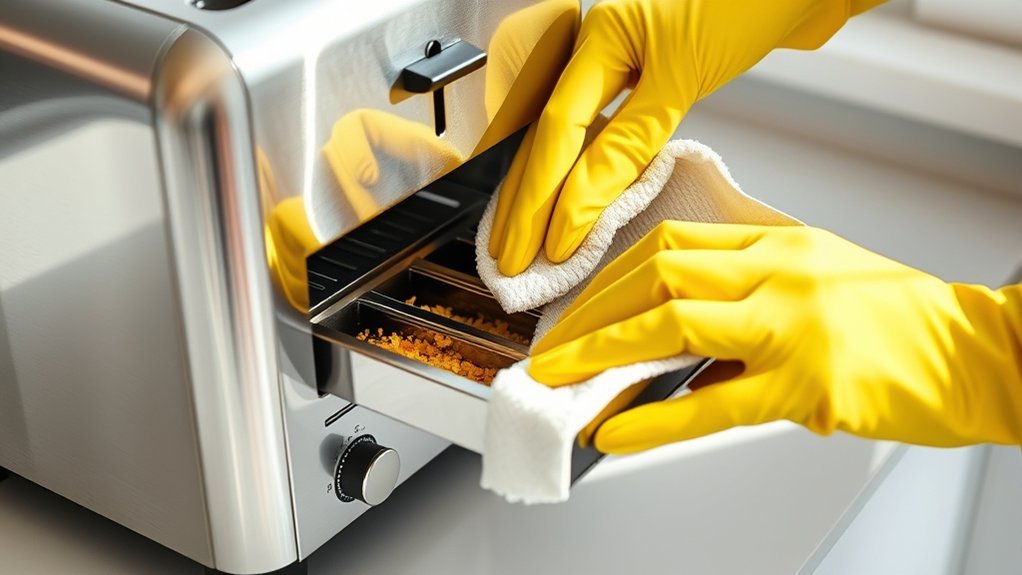
How to Clean Toaster
You want to keep your toaster functioning safely and efficiently, which means regular cleaning your toaster is essential.
Start by unplugging it and letting it cool completely before handling.
Knowing how to properly remove crumbs, clean the interior without damage, and maintain the exterior will extend your toaster’s lifespan.
But there are critical steps and common mistakes you need to avoid to ensure effective cleaning and prevent potential hazards.
Key Takeaways
- Unplug the toaster and let it cool completely before starting any cleaning to ensure safety.
- Remove and empty the crumb tray regularly, cleaning it with a damp cloth and drying thoroughly before reinserting.
- Gently shake the toaster over a trash bin and use a soft brush to remove crumbs inside without damaging heating elements.
- Clean the exterior with a soft, damp cloth and mild detergent, avoiding direct liquid sprays on the appliance.
- Avoid excessive water inside the toaster to prevent electrical damage, rust, and mold growth.
Why You Should Clean Your Toaster for Safety and Performance
Regular toaster maintenance directly impacts both your safety and the appliance’s efficiency. You need to prioritize safety first by removing accumulated crumbs, which can ignite and cause a fire hazard.
Regularly cleaning the toaster’s interior and exterior reduces the risk of electrical malfunctions caused by debris buildup. Additionally, a thorough cleaning provides a performance boost by guaranteeing evenly distributed heat.
When residue accumulates on heating elements, it impairs their function, leading to uneven toasting and increased energy consumption. Maintaining a clean toaster also extends its lifespan by preventing corrosion and mechanical wear.
Gather Tools and Supplies for Cleaning Your Toaster
What tools and supplies do you need to clean your toaster effectively? Start by selecting a soft-bristle brush or a small, handheld vacuum to remove crumbs without damaging internal components. Use a microfiber cloth dampened with mild dish soap for external surfaces.
Avoid abrasive materials that can scratch the toaster’s finish. For stubborn grime, a cotton swab dipped in isopropyl alcohol works well. Remember, tool selection is vital to prevent damage and guarantee thorough cleaning.
Incorporate safety tips such as choosing tools that won’t conduct electricity or leave residues. You’ll also need a container to collect crumbs and a workspace with good lighting. Having these specific tools and supplies ready streamlines the cleaning process and safeguards both you and your appliance.
Unplug and Prep Your Toaster Safely
How do you ensure your safety before cleaning a toaster? First, prioritize unplug safety by disconnecting the toaster from its electrical outlet. This eliminates any risk of electric shock while you’re handling internal parts.
Never clean your toaster while it’s still plugged in or hot. Allow the appliance to cool completely before proceeding.
Next, prep cautiously by moving the toaster to a stable, flat surface away from water sources. Avoid placing it near sinks or damp areas.
Inspect the cord and plug for damage; if you notice fraying or exposed wires, do not continue cleaning. Seek professional repair.
Finally, keep your hands dry and use insulated tools if necessary to prevent accidental shocks. By following these steps, you maintain both your safety and the toaster’s functionality during cleaning.
Remove and Empty the Crumb Tray Properly
Once your toaster is safely unplugged and cooled, focus on the crumb tray, which collects debris during use. Locate the crumb tray at the base or back of the toaster, depending on the model.
Begin by unplugging and cooling your toaster, then locate the crumb tray at its base or back.
Employ the correct removal method, typically sliding it out gently, to avoid damaging any components. Avoid forcing the tray, as this could impair its fit or function.
Empty the tray over a trash bin to prevent crumbs from scattering. For effective crumb tray maintenance, clean it regularly with a damp cloth or mild detergent if needed, then dry it thoroughly before reinserting.
Proper removal and cleaning prevent buildup, ensuring optimal toaster performance and safety. Always verify the tray is securely reinserted to maintain stability during use.
Clean the Toaster’s Interior Without Damage
You’ll want to remove crumbs safely by unplugging the toaster and shaking it gently over a trash bin. Use a soft brush or a microfiber cloth to clean the interior without scratching the heating elements.
Avoid metal tools that can damage delicate components and cause malfunction.
Remove Crumbs Safely
Where should you start when removing crumbs from your toaster to avoid damage? Begin by unplugging the toaster to ensure safety. Next, carefully remove the crumb tray, if your model has one, without forcing it to prevent breakage.
Empty the tray into a trash receptacle designated for debris disposal to avoid scattering crumbs. For toasters without a tray, gently invert the appliance over a sink or garbage bin and lightly tap the sides to dislodge crumbs.
Avoid using sharp objects that can damage heating elements or the interior. Maintain crumb safety by ensuring no crumbs remain near electrical components, which could pose a fire hazard.
Always perform this task on a stable surface and verify the toaster is completely cool before starting to protect both yourself and the appliance.
Use Gentle Cleaning Tools
A soft brush or a microfiber cloth works best for cleaning your toaster’s interior without causing damage. Using gentle cleaning tools ensures toaster safety by preventing scratches or harm to heating elements. Avoid abrasive materials that can compromise the toaster’s functionality.
Here’s a guide to selecting appropriate tools:
| Tool Type | Purpose |
|---|---|
| Soft-bristled brush | Dislodge crumbs gently |
| Microfiber cloth | Wipe interior surfaces |
| Cotton swabs | Reach tight corners |
| Compressed air | Blow out loose debris |
| Non-abrasive sponge | Clean exterior without scratching |
Always unplug the toaster before cleaning. Use minimal moisture to avoid electrical hazards. By following these steps with gentle cleaning tools, you maintain optimal toaster performance and extend its lifespan while prioritizing toaster safety.
Clean the Toaster’s Exterior for a Polished Look
How often do you pay attention to your toaster’s exterior? Maintaining it is key for a polished look and hygiene. First, unplug the toaster to ensure safety.
Use a soft, damp cloth with mild detergent to wipe down all outer surfaces, avoiding abrasive materials that can scratch. For stubborn stains, apply a small amount of baking soda paste, then gently rub and rinse with a damp cloth.
Once dry, use a microfiber cloth to polish exterior surfaces, enhancing the shine finish. Avoid spraying liquids directly on the toaster; instead, apply cleaners onto the cloth. This method prevents moisture from entering internal components.
Regularly polishing the exterior not only improves aesthetics but also preserves the toaster’s material integrity, keeping it looking new and functioning well.
How Often to Clean Your Toaster to Prevent Buildup
Maintaining your toaster’s exterior regularly helps keep it looking sharp, but preventing buildup inside requires a consistent cleaning schedule. For effective toaster maintenance, aim to clean the crumb tray weekly if you use the toaster daily. This routine minimizes crumb accumulation and reduces fire hazards.
If usage is occasional, clean the tray biweekly. Additionally, wipe interior slots monthly with a soft brush to dislodge stuck particles, enhancing grime prevention. Avoid letting grease and crumbs settle, as they degrade performance and pose safety risks.
Establishing this schedule ensures your toaster operates efficiently and lasts longer. By adhering to these intervals, you actively prevent grime buildup and maintain optimal function, making your toaster safer and easier to clean over time.
Avoid These Common Toaster Cleaning Mistakes
When cleaning your toaster, don’t use excessive water, as it can damage the electrical components. Always remove and empty the crumb tray regularly to prevent buildup and potential fire hazards.
Skipping these steps compromises both safety and appliance longevity.
Using Excessive Water
A critical mistake to avoid during toaster cleaning is using excessive water. Excessive water can easily seep into electrical components, causing water damage that may lead to short circuits or permanent malfunction.
Instead, use a damp cloth or sponge, ensuring it’s not dripping wet. Always unplug your toaster before cleaning to minimize risk.
| Risk Factor | Outcome |
|---|---|
| Excessive water | Short circuits, electrical failure |
| Water inside slots | Rust, corrosion |
| Over-saturation | Damage to heating elements |
| Improper drying | Mold growth, odor |
Ignoring Crumb Tray Cleanup
Why neglect the crumb tray when cleaning your toaster? Ignoring tray maintenance leads to crumb buildup, which can cause overheating or even fire hazards. To prevent this, always remove and empty the crumb tray regularly.
First, unplug the toaster and let it cool completely. Slide out the tray carefully to avoid spilling crumbs. Use a soft brush or cloth to wipe off any residual crumbs inside the tray and the toaster’s interior.
Avoid using water directly on the tray unless it’s removable and dishwasher-safe; dry it thoroughly before reinserting. Neglecting tray cleanup compromises the toaster’s performance and safety.
Make crumb tray maintenance an essential step in your cleaning routine to ensure your toaster operates efficiently and safely over time.
Troubleshoot and Fix Toaster Issues After Cleaning
After cleaning your toaster, you might run into issues that prevent it from functioning properly. First, assure the toaster is unplugged before inspecting internal components.
Check that the crumb tray is correctly reinserted, as improper placement can block mechanisms and affect toaster maintenance. Verify crumb tray safety by confirming no debris remains that could cause short circuits or heating errors.
Test the lever and buttons for smooth operation; if they stick, gently clean with a soft brush or compressed air. Inspect the power cord for damage and assure the toaster is on a stable, dry surface.
If problems persist, consult the user manual for model-specific troubleshooting or contact professional repair services. Proper troubleshooting after cleaning ensures your toaster operates safely and efficiently.
Frequently Asked Questions
Can I Put My Toaster in the Dishwasher?
You shouldn’t put your toaster in the dishwasher due to toaster safety risks. Use appropriate cleaning tools like a brush or cloth to avoid damaging electrical components.
This ensures safe, effective cleaning without compromising your appliance’s functionality.
Is It Safe to Use Vinegar to Clean My Toaster?
Yes, you can use vinegar safely for toaster cleaning, but avoid isopropyl cleaning solutions. Unplug first, remove crumbs for proper crumb disposal, then apply vinegar with a cloth to clean without damaging electrical components.
How Do I Remove Burnt Smells From a Toaster?
To remove burnt aromas from your toaster, unplug it and use deodorizing methods like placing a bowl of baking soda or activated charcoal inside overnight. Wipe interior surfaces carefully to eliminate residual odors and ensure thorough drying before use.
Can I Use a Vacuum Cleaner to Clean Toaster Crumbs?
You can use a vacuum cleaner for toaster internal cleaning, but only if you remove the crumb tray first to guarantee crumb tray safety.
Avoid vacuuming electrical components to prevent damage or hazards during cleaning.
Will Cleaning My Toaster Affect Its Warranty?
Worried about warranty impact? If you follow the manufacturer’s cleaning guidelines precisely, cleaning won’t void your warranty.
Always use recommended methods and avoid harsh chemicals or disassembly to keep your toaster’s warranty intact and valid.
Conclusion
Now that you’ve cleaned your toaster like a pro, you’ll keep it running smoothly and safely—no more crumbs playing hide and seek inside. Regular cleaning is your toaster’s best friend, preventing buildup and potential hazards.
Stick to the steps, avoid common mistakes, and troubleshoot promptly if needed. With this routine, your toaster won’t just toast bread; it’ll toast your mornings perfectly, every single time.
Cleanliness truly is the secret ingredient to peak performance, making how to clean toaster an essential part of your kitchen care.