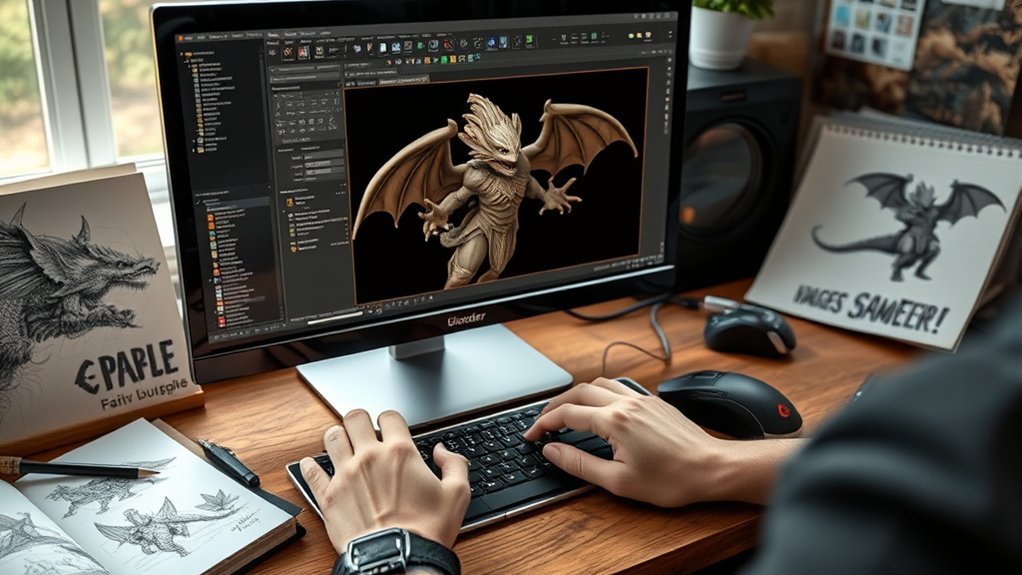
How to Make Dragonslayer in Blender
You’ll start by setting up your Blender workspace to create the Dragonslayer. Align your viewport, outliner, and properties panel for an efficient workflow.
Next, you’ll block out the Dragonslayer’s blade, sculpt the hilt, and refine each element with precision. With snapping enabled and reference images in place, shape the sword’s iconic silhouette. Prepare for detailed texturing to bring out its unique features.
This foundational phase is critical, but the real challenge lies ahead when you bring metal and leather materials to life.
Key Takeaways
- Set up Blender workspace with 3D viewport, outliner, properties panel, and import Dragonslayer sword reference images for modeling accuracy.
- Model the blade using a flat plane, refine with edge loops, sculpt dragon designs, and create a sharp, angular crossguard and detailed grip.
- Carefully unwrap the UV map, apply metal and leather shaders, add grunge and procedural noise for realistic textures and material variation.
- Position dynamic lighting with drone and fill lights, set a shallow depth of field camera, and animate slow arcs to highlight sword details.
- Optimize render settings with 128-256 samples, 1920×1080 resolution, denoising enabled, and export the final image in PNG or EXR format.
Get Your Blender Workspace Ready for Dragonslayer Sword
Where do you begin when preparing to model a complex object like the Dragonslayer sword in Blender? Start by setting up your workspace to streamline your design workflow. Customize your layout to include the 3D viewport, outliner, and properties panel, ensuring quick access to essential tools.
Activate Blender shortcuts like “Shift + A” for adding meshes and “Tab” to toggle edit mode, which will speed up your process. Adjust your snapping settings and enable the grid floor for precise alignment. Import reference images of the Dragonslayer sword into the background to guide your proportions accurately.
Organize your scene with collections, keeping components manageable. This preparation phase is crucial; a tailored Blender workspace accelerates your modeling and reduces repetitive strain, setting a solid foundation before you start crafting the blade and hilt.
Model the Dragonslayer Sword’s Blade and Hilt Step-by-Step
How do you accurately capture the immense scale and intricate details of the Dragonslayer sword starting with the blade and hilt? Begin by blocking out the blade’s massive form with a long, flat plane, then use edge loops to refine its thick, tapered profile.
Focus on the dragon design carved along the blade’s side, using displacement modifiers or precise sculpting to create raised, sinuous scales and wings. For the hilt, model the crossguard with sharp, angular geometry, mirroring the sword’s aggressive aesthetic.
When crafting the sword grip, add subtle grooves and ridges to simulate leather wrapping, enhancing realism. Use subdivision surfaces sparingly to maintain crisp edges. Constantly switch between orthographic and perspective views to ensure proportions stay true to the Dragonslayer’s imposing silhouette.
Add Realistic Textures and Materials to Your Dragonslayer Sword
With the Dragonslayer’s form meticulously shaped, it’s time to bring the model to life through textures and materials that reflect its legendary presence. Start by unwrapping the UV map carefully to avoid stretching, ensuring your textures align perfectly.
For the blade, apply a metal shader with high roughness variation to simulate worn steel; surprisingly, adding subtle grunge maps during texturing enhances realism without overwhelming the model. Use procedural noise to introduce micro scratches and imperfections.
For the hilt, combine leather and aged wood materials, blending them with masks for natural transitions. Don’t forget to adjust your color grading to emphasize the cold steel’s blueish tint against the warm hilt, creating visual contrast.
This precise layering of textures and thoughtful color grading will give your Dragonslayer sword an authentic, battle-worn look.
Set Up Lighting and Camera to Showcase Your Dragonslayer Sword
Lighting and camera placement play a crucial role in highlighting the intricate details and dramatic presence of your Dragonslayer sword. To achieve a compelling visual setup, follow these steps:
- Position drone lighting above and slightly behind the sword to create sharp highlights on edges, emphasizing metal textures.
- Use soft fill lights at lower angles to reveal subtle surface imperfections without washing out reflections.
- Set your camera with a shallow depth of field, focusing on the blade’s core to draw the viewer’s eye toward the sword’s craftsmanship.
- Animate camera movement with slow, deliberate arcs around the sword, combining smooth pans and subtle zooms to showcase every angle dynamically.
This combination of drone lighting and precise camera movement will elevate your Dragonslayer’s visual impact effectively.
Render and Export Your Dragonslayer Sword
When do you know your Dragonslayer sword is ready for its final presentation? Ensure render optimization is dialed in by adjusting samples, resolution, and denoising settings to balance quality and speed.
Activate texture streaming to manage memory usage efficiently, especially for high-res textures on the blade and hilt. Use Blender’s Render Properties panel to fine-tune lighting passes for sharp reflections and shadows.
| Setting | Recommended Value | Purpose |
|---|---|---|
| Samples | 128-256 | Cleaner image with noise control |
| Resolution | 1920×1080 | High-definition output |
| Denoising | Enabled | Smoothens grainy areas |
| Texture Streaming | On | Efficient memory management |
| File Format | PNG or EXR | Preserves image quality |
Finally, export using Blender’s Output Properties, choosing a format that suits your project needs.
Frequently Asked Questions
Can I Animate the Dragonslayer Sword in Blender?
You can animate the Dragonslayer sword in Blender by carefully planning your animation, using keyframes for smooth motion, and enhancing visuals with advanced lighting techniques like HDRI and rim lights to highlight its metallic texture dynamically.
How Do I Create a Custom Dragonslayer Sword Design?
You start by sketching design aesthetics, focusing on blade shape and hilt details. Then, model using precise geometry. Apply custom material shaders for metal reflections, and tweak textures to create a realistic, visually striking Dragonslayer sword design.
What Are the Best Plugins for Sword Modeling in Blender?
You’ll want plugins like Hard Ops for topology guides, Substance Painter for best texture creation, and Node Wrangler for realism shaders. Also, use RenderMan or E-Cycles to ensure render optimization, achieving highly detailed, realistic sword models efficiently.
How Can I Make the Sword Glow or Emit Light?
You’ll want to gently illuminate your sword by applying emission shaders in the material settings. Adjust glow effects with color grading in the compositor, fine-tuning intensity and hue to create a vivid, ethereal light source.
Can I 3D Print the Dragonslayer Sword Model?
You can 3D print the Dragonslayer sword model, but consider sword durability by selecting strong materials like nylon or resin. Optimize wall thickness and internal supports to guarantee structural integrity and avoid fragile, brittle sections during printing.
Conclusion
Now that you’ve meticulously crafted the Dragonslayer sword—from blocking out the blade to refining the grip and setting dramatic lighting—aren’t you amazed at how precision modeling and detailed texturing bring this iconic weapon to life?
By mastering Blender’s tools and workflows, you’ve created a visually stunning, realistic asset ready for any scene. With proper rendering and export settings, your model is primed to impress in every pixel.
Ready to wield your creation? Your Dragonslayer in Blender is now complete and ready to dominate any project.