Where Is the Decimate Modifier in Blender
Imagine you’re working on a complex model with a high polygon count and want to optimize it quickly. The Decimate modifier in Blender is your go-to tool for reducing geometry efficiently.
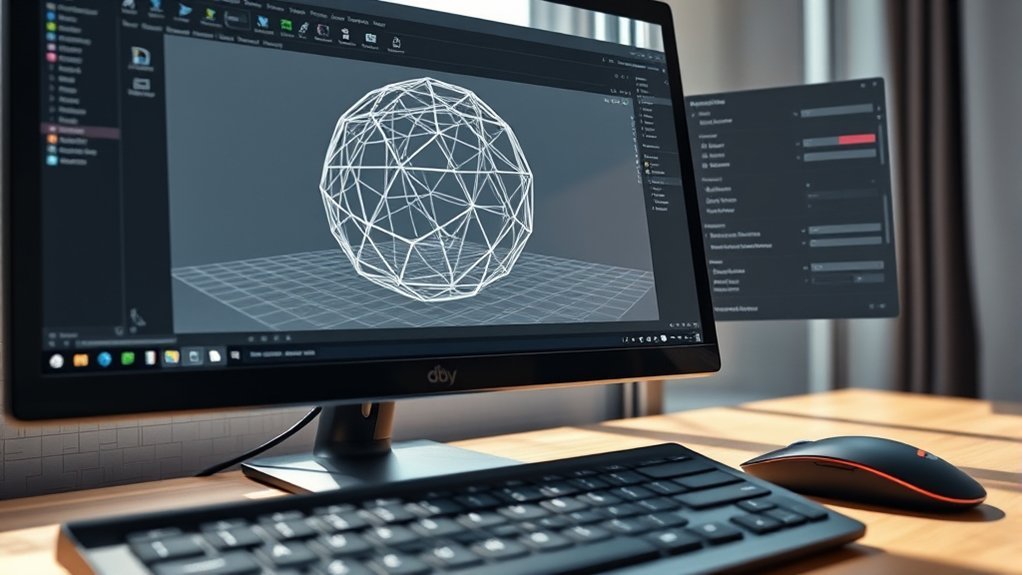
You’ll find the Decimate modifier tucked away in Blender’s Properties Editor under the Modifiers tab, represented by a blue wrench icon. Adding it is straightforward, but understanding its location is just the first step.
Knowing where to access it sets the stage for mastering how to efficiently reduce geometry without sacrificing essential detail. This knowledge helps streamline your workflow and improve performance.
Key Takeaways
- The Decimate Modifier is found in the Properties Editor under the Modifiers tab, represented by a blue wrench icon.
- Select your mesh object in Object Mode to access the Modifiers tab on the right side of the Blender interface.
- Click “Add Modifier” in the Modifiers panel to reveal the list of modifiers available in Blender.
- Find and select “Decimate” under the Generate category within the modifier list.
- The Decimate Modifier is built into Blender and requires no additional plugins or installations.
Finding the Decimate Modifier in Blender
Where can you locate the Decimate modifier in Blender? You’ll find it in the Properties Editor under the Modifiers tab, represented by a blue wrench icon. After selecting your mesh object, click this tab to access a list of available modifiers.
The Decimate modifier is part of the “Generate” category, a two word idea that groups modifiers creating geometry changes. To add it, click “Add Modifier” and scroll down to “Decimate.” This two word idea helps you quickly identify the modifier’s purpose—reducing polygon count without altering basic shape.
Navigating here requires no extra plugins, as it’s built into Blender’s core interface. Understanding this location streamlines your workflow, letting you optimize models efficiently before further editing or exporting.
Applying the Decimate Modifier to Your Model
To apply the Decimate modifier, first select your model and open the Modifier panel in the Properties editor. From there, add the Decimate modifier and adjust its settings to control the level of mesh reduction.
Pay close attention to the Ratio value, as it directly affects how much the geometry is simplified.
Accessing The Modifier Panel
Finding and using the Modifier Panel is essential when applying the Decimate modifier to your model. This panel is your hub for managing modifiers during modeling workflows, enabling efficient mesh optimization without destructive editing.
To access it:
Select your object in Object Mode. Look to the Properties Editor on the right side of the interface. Click the wrench icon to open the Modifier Panel. Click “Add Modifier” to reveal the modifier list. Choose “Decimate” from the Generate category.
Adjusting Decimate Settings
How much can you reduce your mesh without losing critical detail? When adjusting Decimate settings, focus on the Ratio slider to control the percentage of retained polygons. Lower ratios decrease polygon count aggressively, but watch for distortion or loss of important features.
Unlike remesh, which rebuilds topology uniformly, Decimate simplifies existing geometry, making it ideal for polygon count strategies aimed at optimization rather than topology overhaul. You can also choose between Collapse, Un-Subdivide, and Planar methods. Collapse is the most common for reducing polygons while preserving shape.
Always preview changes in the viewport and apply the modifier only when satisfied. Balancing decimate vs remesh depends on your final goal: Decimate for lightweight models, Remesh for clean, uniform topology.
Decimate Modifier Modes Explained
You’ll find three main modes in the Decimate modifier: Collapse, Un-Subdivide, and Planar. Each mode simplifies your mesh differently. Collapse reduces vertices by edge collapse, Un-Subdivide reverses subdivision, and Planar merges faces based on angle thresholds.
Understanding these modes helps you control polygon reduction precisely.
Collapse Mode Overview
The Collapse mode in Blender’s Decimate modifier reduces mesh complexity by strategically collapsing edges and vertices, preserving the overall shape while lowering polygon count. This mode optimizes decimate performance by focusing on polygon preservation, ensuring your mesh maintains visual fidelity despite fewer polygons.
When you use Collapse mode, Blender evaluates edge lengths and angles to decide which edges to collapse, effectively simplifying geometry.
Key points to consider:
- Prioritizes keeping mesh silhouette intact
- Automatically selects edges for optimal collapse
- Maintains UVs and vertex groups where possible
- Offers a ratio slider to control reduction amount
- Best for organic shapes requiring balanced simplification
Collapse mode is ideal when you need efficient polygon reduction without heavily sacrificing detail.
Un-Subdivide Mode Details
Un-Subdivide mode in Blender’s Decimate modifier simplifies meshes by reversing subdivision operations, effectively reducing geometry in a controlled, stepwise manner. This mode is particularly useful when working with subsurface sculpts, where dense topology results from multiple subdivision levels.
By applying Un-Subdivide, you systematically reduce edge loops, maintaining the mesh’s overall shape while decreasing polygon count. This process differs from Collapse mode by preserving quad-based topology, which is essential for further editing or animation.
When you’re preparing assets for render optimization, Un-Subdivide helps balance detail retention with performance needs, ensuring efficient rendering without compromising visual fidelity. You can control the number of iterations to fine-tune the reduction, making this mode ideal for optimizing high-poly models while retaining their structural integrity.
Planar Mode Functionality
How does Planar mode in Blender’s Decimate modifier streamline mesh reduction? Planar mode simplifies your mesh by merging faces that lie on the same or nearly the same plane, preserving the overall shape while reducing polygon count. This mode excels in maintaining edge preservation, ensuring that sharp features and boundaries remain intact during decimation.
When using planar mode, you can expect:
- Efficient reduction of flat surfaces without distortion
- Automatic merging of coplanar faces
- Retention of critical edge loops for structural integrity
- Adjustable angle threshold to control face merging sensitivity
- Improved performance on architectural and mechanical models
Optimizing Decimate Modifier Settings
Why should you carefully adjust the Decimate modifier settings? Because fine-tuning these parameters directly impacts your model’s silhouette, polygon count, and ultimately the efficiency of your workflow storytelling. You want to reduce complexity without compromising visual fidelity or introducing artifacts that disrupt shader compatibility.
Start by setting the ratio value conservatively to maintain essential geometry. Experiment with the collapse method for gradual reduction or planar mode to preserve flat surfaces. Keep an eye on how these changes influence UV maps and normals, as improper settings can hinder shader performance.
Using the Decimate Modifier in Your Workflow
Once you’ve fine-tuned the Decimate modifier settings to balance detail and performance, integrating it into your workflow can substantially streamline model optimization. You’ll want to apply it strategically to maintain discrete geometry where precision is critical and ensure topology preservation in areas requiring structural integrity.
Here’s how to effectively use it:
- Apply the modifier non-destructively to test reduction levels without losing original mesh data.
- Use vertex group masking to protect key topology during decimation.
- Combine with other modifiers for layered optimization.
- Preview results in real-time to avoid excessive geometry loss.
- Export optimized models for game engines or real-time applications, ensuring performance gains without sacrificing essential details.
This approach lets you keep control over mesh complexity while preserving crucial geometry and topology.
Alternatives to the Decimate Modifier
Where can you turn when the Decimate modifier doesn’t meet your specific mesh reduction needs? You can explore alternatives like the Remesh modifier, which offers control over topology by generating new geometry based on voxel or quad methods. This is particularly useful for design considerations requiring uniform mesh density.
Another option is manually retopologizing your model, giving you precise control over edge flow and polygon distribution, essential for high-quality render optimization. Additionally, using the Multiresolution modifier allows you to maintain detail at different subdivision levels while optimizing performance.
For quick polygon reduction, the Limited Dissolve tool can simplify geometry based on angle thresholds. Each alternative serves distinct purposes, so selecting the right tool depends on your project’s balance between mesh fidelity and render efficiency.
Fixing Common Decimate Modifier Issues
If the Decimate modifier doesn’t deliver the mesh reduction you need, addressing common issues can help optimize its performance. You might encounter problems related to mesh topology, or settings that produce unexpected results. Avoid diving into unrelated topics or off topic ideas that don’t directly solve these issues. Focus on the core technical fixes:
- Ensure your mesh has no non-manifold edges or duplicate vertices; clean it first.
- Apply scale and rotation transforms to avoid distortion during decimation.
- Use the correct decimation type (Collapse, Un-Subdivide, or Planar) for your model.
- Check if modifiers stacking order affects the Decimate modifier’s behavior.
- Avoid using the modifier on objects with complex materials or vertex groups that may interfere.
Tips for Maintaining Detail While Reducing Polygons
How can you reduce polygon count without sacrificing essential detail in your model? Start by targeting specific areas with high polygon density, using Blender’s Decimate Modifier selectively rather than uniformly. Preserve sharp edges by enabling the “Preserve Vertex Group” option or manually assigning vertex groups to protect critical geometry.
Utilize two word topic ideas like “edge preservation” and “vertex weighting” to guide your approach. Additionally, consider combining the Decimate Modifier with the “Subdivision Surface” modifier for smoother results while maintaining Blender performance.
Always monitor the polygon reduction ratio to balance detail retention with optimization. Finally, clean up mesh artifacts post-decimation by using Blender’s “Merge by Distance” tool and recalculating normals to ensure model integrity and optimal Blender performance.
Frequently Asked Questions
Can the Decimate Modifier Be Animated Over Time?
Yes, you can animate the Decimate modifier’s ratio for an animated workflow. Just keyframe the ratio value, and you’ll see real-time viewport updates.
This allows precise control over mesh simplification throughout your animation.
Does the Decimate Modifier Work With Sculpted Multiresolution Meshes?
You can apply the Decimate modifier to sculpted multiresolution meshes, but watch for decimation pitfalls like distorted details. Performance considerations matter; heavy decimation may degrade sculpt quality, so always test carefully and adjust settings to preserve essential geometry.
How Does Decimate Affect UV Maps and Textures?
Decimation impacts UV maps by altering vertex positions, which can cause texture distortion. You’ll notice stretched or compressed textures if the mesh topology changes considerably.
Carefully adjust decimation settings to minimize these effects on your UV layouts.
Is the Decimate Modifier Available in Blender’s Sculpt Mode?
You’d think Blender would scream about it, but no. The Decimate modifier isn’t available in sculpt mode. Instead, you optimize your decimation workflow in object mode, balancing performance considerations before sculpting.
Can Decimate Be Used for Reducing Polygons in Hair Particle Systems?
You can’t directly use decimate on hair particle systems, but you can convert hair to mesh first. For hair particle optimization, decimate reduces polygon count efficiently, while remesh rebuilds topology, often altering detail and shape more drastically.
Conclusion
Now that you know where to find and how to use the Decimate modifier, the real challenge begins: balancing polygon reduction without sacrificing essential detail. Mastering its modes and settings lets you optimize your models efficiently, but subtle tweaks make all the difference.
Keep experimenting, because the perfect mesh isn’t just about fewer polygons—it’s about smarter optimization. Your workflow will improve, and your models will perform better, but only if you push beyond the basics.
In conclusion, understanding where the Decimate modifier is in Blender is key to unlocking powerful mesh optimization techniques.