How to Draw Toaster
When you start drawing a toaster, focus on breaking its shape into simple forms like rounded rectangles and narrow slots. Begin with lightly sketching these basic shapes first to maintain symmetry and correct proportions. Visualize the perspective and think about where your light source will be to create realistic shading.
As you refine the details, such as buttons and levers, subtle textures will bring the metal surface to life. But before you add those finishing touches, there’s one essential step to guarantee your toaster feels three-dimensional.
Key Takeaways
- Start by sketching the main body as a rounded rectangle with two narrow vertical rectangles on top for the slots.
- Use light, loose lines to outline the toaster’s shape, adding buttons, knobs, and the lever with basic geometric shapes.
- Establish perspective by identifying vanishing points and foreshortening edges toward these points for accurate 3D structure.
- Shade by determining a light source, applying gradual textures, highlights, and reflections to mimic metallic surfaces.
- Experiment with styles by combining vintage curves, modern smoothness, and tech elements like digital displays for design variety.
Get Your Materials Ready
Before you begin drawing your toaster, gather all the essential materials to guarantee a smooth process. Start with quality paper, smooth or textured depending on your preference. Grab a set of pencils ranging from hard (H) to soft (B) for varied line work.
Don’t forget your erasers: a kneaded one for gentle corrections and a precision tip for fine details. Include colored pencils or markers if you plan on color experiments to bring your toaster to life. Keep a sharpener handy to maintain crisp lines.
To warm up, use practice prompts like quick sketches of everyday objects to loosen your hand. Setting up this toolkit prepares you to focus on the drawing itself, making your toaster illustration more precise and vibrant.
Break Down the Toaster Into Basic Shapes
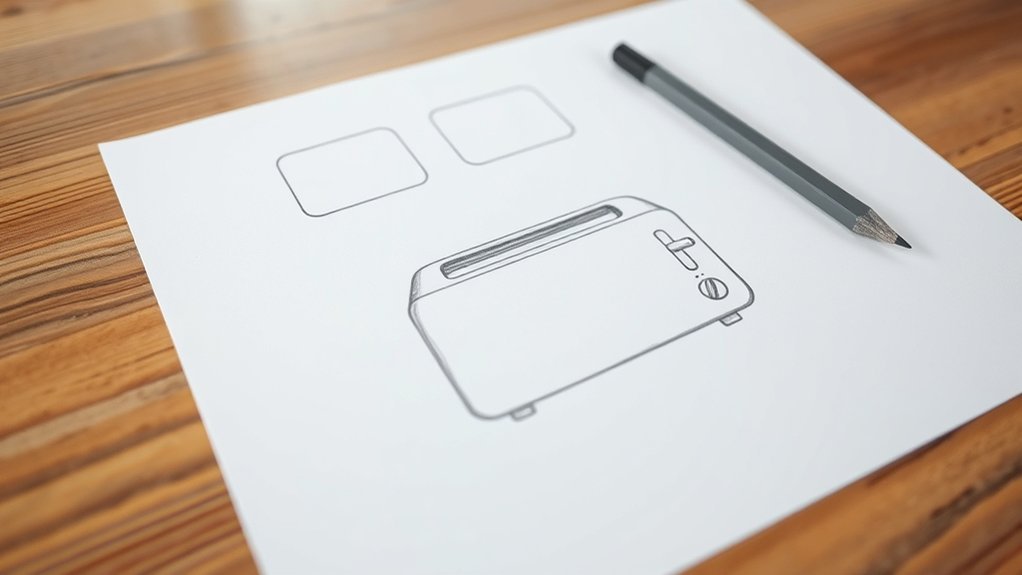
Although a toaster may seem complex at first, you can simplify it by breaking it down into basic geometric shapes. Start by visualizing the main body as a rounded rectangle. This forms the core of your toaster anatomy.
Next, add two narrow vertical rectangles on top for the slots where bread fits. Don’t forget to include smaller shapes like circles or ovals for buttons and knobs. This approach helps you stay organized and understand the toaster’s structure before adding details.
Keep color theory in mind when you plan shading and highlights; using light and shadow on these shapes will make your drawing more realistic. By mastering this breakdown, you’ll create a clean foundation that makes sketching the toaster easier and more accurate.
Sketch the Toaster’s Outline Step-by-Step
Start by lightly sketching the rounded rectangle that forms the toaster’s main body, keeping your lines loose to allow easy adjustments. Next, add the slot openings on top with parallel lines, ensuring they align symmetrically.
Sketch the lever on the side as a small rectangle attached smoothly to the main shape. Focus on balance and proportion to capture material realism. Use gentle curves to suggest the toaster’s smooth metal surface, helping you later apply color theory for shading.
Below is a quick guide to keep your outline accurate:
| Step | Shape | Tip |
|---|---|---|
| 1 | Rounded rectangle | Keep lines loose |
| 2 | Parallel lines | Align slots symmetrically |
| 3 | Small rectangle | Draw lever smoothly |
| 4 | Curved edges | Suggest smooth metal |
| 5 | Refine outline | Adjust proportions |
Use Perspective to Draw a Realistic Toaster
To make your toaster look realistic, start by identifying the vanishing points on your drawing surface. They guide how the toaster’s edges recede in space.
Then, apply foreshortening by shortening parts of the toaster that angle toward you, creating a sense of depth. Focusing on these techniques will help your sketch jump off the page with believable dimension.
Understanding Vanishing Points
How exactly do vanishing points shape the way you draw a realistic toaster? Vanishing points anchor your toaster’s edges, guiding lines to converge realistically. Start by placing one or two vanishing points on your horizon line. These represent where parallel toaster edges appear to meet.
When you sketch, align the toaster’s sides, top, and slot edges toward these points. This keeps your drawing grounded in accurate perspective and avoids common perspective pitfalls, like skewed or distorted shapes.
Watch out for vanishing anomalies, small inconsistencies where lines don’t meet correctly, that can warp the toaster’s form. By carefully checking that all lines converge precisely on your vanishing points, you create a believable 3D toaster that feels stable and proportionate on your page.
Applying Foreshortening Techniques
Mastering foreshortening breathes life into your toaster sketch by capturing the way its shapes compress as they recede into space. Start by identifying the toaster’s main planes, front, side, and top, and apply foreshortening armor by imagining these surfaces wrapped in a protective shell that shortens as it angles away from you.
Use perspective tricks like converging lines toward the vanishing point to guide this compression accurately. For instance, the toaster’s slot openings will appear narrower and shorter when viewed at an angle. Sketch these subtle shifts with firm, confident strokes to emphasize depth.
This technique ensures your toaster doesn’t look flat but instead has volume and realism. Keep checking proportions against your perspective grid to maintain consistency throughout your drawing.
Add Buttons, Slots, and Knobs
Where exactly should you place the buttons, slots, and knobs to bring your toaster drawing to life? Start by sketching the two main slots on top, ensuring they’re evenly spaced and slightly rounded at the corners. That’s idea1 for balance and realism.
Next, position the buttons on the front or side panel where they’re easily accessible; small rectangles or circles work well here. For knobs, draw a circular shape with subtle ridges or markings to indicate grip. Place these near the buttons for functional design, following idea2.
Remember to align these elements with your toaster’s perspective, keeping proportions consistent. Adding these details gives your drawing character and practicality, making it instantly recognizable as a real toaster without overwhelming the simple form you’ve created.
Shade Your Drawing to Show Light and Shadow
Shading your toaster drawing brings depth and dimension, making it feel more lifelike. Begin by deciding where your light source is coming from. Use light, gradual texture shading on areas that catch the light, such as the top edges of the slots and the rounded corners.
Darken the opposite sides and underneath surfaces to create shadows, enhancing the light balance in your drawing. Pay close attention to how shadows softly curve along the toaster’s shape, avoiding harsh lines unless the form is sharp.
Apply layered strokes with a pencil or shading tool, blending gently to mimic the subtle transitions between light and shadow. This careful texture shading will make your toaster look solid and three-dimensional, capturing the play of light realistically without adding texture details just yet.
Add Texture to Capture the Toaster’s Surface
How exactly do you bring your toaster drawing to life with texture? Start by conducting a focused texture study to understand the surface details, whether it’s smooth metal, brushed steel, or plastic. This step is crucial for achieving material realism. Next, apply these techniques:
Begin with a focused texture study to capture realistic surface details like metal, steel, or plastic.
- Use fine cross-hatching or stippling to mimic the subtle grain of brushed metal.
- Add soft highlights with an eraser to replicate reflective surfaces.
- Incorporate tiny scratches or imperfections for authenticity.
- Vary your pencil pressure to suggest different materials, like glossy plastic knobs versus matte body parts.
Fix Common Toaster Drawing Mistakes
Although capturing the basic shape of a toaster might seem straightforward, common mistakes can quickly undermine your drawing’s accuracy and realism. Start by fixing proportions. Ensure the toaster’s width and height look balanced.
Next, focus on mastering symmetry. Toaster sides and slots should mirror each other perfectly. Avoid uneven slot spacing or skewed edges that break the illusion of a sturdy appliance.
| Common Mistake | How to Fix It |
|---|---|
| Uneven slots | Use a ruler or guide lines |
| Misaligned buttons | Mark exact button placements |
| Warped toaster body | Check vertical and horizontal lines |
| Overly thick outlines | Use varied line weights |
| Incorrect scale | Compare parts proportionally |
Try Drawing Different Toaster Styles
Start by sketching classic toaster designs with rounded edges and simple knobs to capture their timeless charm.
Then, experiment with modern toaster variations featuring sleek lines, digital displays, and unique shapes. Focus on the distinct details that set each style apart to make your drawings more dynamic.
Classic Toaster Designs
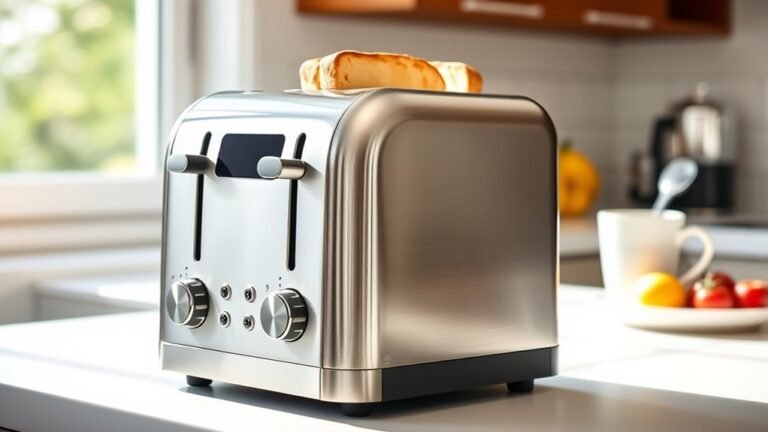
Why not explore a variety of classic toaster designs to sharpen your drawing skills? Start by focusing on shapes and textures that define these timeless pieces. Notice the classic retro style, often featuring rounded edges and bold knobs.
Capture the metallic sheen by shading with light reflections and subtle gradients.
- Draw a streamlined 1950s model with smooth curves and chrome accents.
- Sketch a boxy, 1970s toaster with simple lines and a matte finish.
- Illustrate a mid-century design, emphasizing symmetrical slots and polished metal.
- Create a vintage toaster with visible levers and textured handles.
Modern Toaster Variations
After mastering classic toaster designs, you can expand your drawing skills by exploring modern toaster variations. These modern variations blend sleek lines with functional elements, contrasting vintage silhouettes that emphasize rounded edges and ornate details. When you draw, start by sketching minimalist shapes. Think rectangular bodies with smooth surfaces.
Then, add subtle curves or digital displays to highlight contemporary features.
| Style | Key Features |
|---|---|
| Vintage Silhouette | Rounded edges, chrome accents |
| Minimalist Modern | Smooth surfaces, sharp edges |
| Tech-Integrated | Digital screens, LED lights |
Try combining elements from each style to create unique toasters. Focus on proportions and surface textures to convey the difference between nostalgic charm and futuristic design. This approach sharpens your ability to capture diverse toaster aesthetics.
Tips to Practice and Improve Your Toaster Drawing Skills
How can you sharpen your skills to capture the perfect toaster drawing? Start by embracing observational drawing. Closely study the toaster’s shapes, buttons, and textures. Notice how light interacts with its surfaces to enhance realism.
- Practice shading by experimenting with light and shadow to create depth and dimension.
- Break down the toaster into simple geometric shapes to improve accuracy and proportion.
- Use reference images from different angles to understand varying perspectives.
- Sketch regularly, focusing on quick studies to build confidence and speed.
Frequently Asked Questions
What Brand of Toaster Is Easiest to Draw?
You’ll find that simple toaster brands like Sunbeam or Hamilton Beach are easiest to draw. Use basic drawing techniques, focusing on clean lines and simple shapes, to capture their classic rectangular forms and minimalistic details effectively.
Can I Draw a Toaster Using Digital Tools?
You absolutely can. Just grab your digital sketching tool, channel your inner toaster whisperer, and layer color shading like it’s a bread-browning masterpiece.
Watch pixels pop as your toaster comes alive, no crumbs required!
How Long Does It Take to Master Drawing Toasters?
You’ll find the mastery timeline varies, but consistent drawing exercises focusing on shapes, shading, and perspective can help you master toasters in weeks.
Keep practicing visuals, refining details, and your skills will sharpen steadily and clearly.
Are There Famous Artists Known for Drawing Appliances?
You’ll find appliance art celebrated by famous artists like Claes Oldenburg, who turned everyday objects into monumental sculptures.
For your two word discussion idea, focus on “functional beauty” to explore how appliances inspire creative expression visually.
What Are Creative Ways to Use Toaster Drawings?
Think of your creative toaster scenes as storytelling sparks; you can animate whimsical kitchen gadgets to create playful narratives, design quirky greeting cards, or even craft imaginative prints that bring charm and personality to everyday culinary tools in vivid detail.
Conclusion
Now that you’ve mastered breaking down your toaster into simple shapes and adding textures, your drawing is like a well-oiled machine—smooth and precise. Keep practicing perspective and shading to bring your toaster to life with metal gleams and realistic buttons.
Each sketch sharpens your skills, so don’t hesitate to experiment with styles and details. With patience and focus, your toaster drawings will pop off the page, shining like fresh chrome under the kitchen light.
Keep refining your technique, and soon your ability to draw a toaster will impress everyone who sees it.