How to Operate Toaster
To operate your toaster correctly, start by ensuring it’s unplugged before any handling or cleaning. Always use dry hands and avoid placing crumbs or flammable items nearby to maintain safety.
Insert bread evenly in the center of the slots without forcing thick slices, then engage the lever fully. Understanding these basics sets the foundation, but mastering settings for different bread types and troubleshooting common issues will help you get consistent results every time.
Key Takeaways
- Unplug the toaster and use dry hands before inserting bread to ensure electrical safety.
- Align bread slices centrally in slots, avoiding oversized pieces to prevent jamming.
- Fully engage the lever to start toasting and monitor browning progress to avoid burning.
- Adjust toasting time and browning settings based on bread type and desired crispness.
- After use, unplug and allow the toaster to cool before cleaning crumbs and inspecting components.
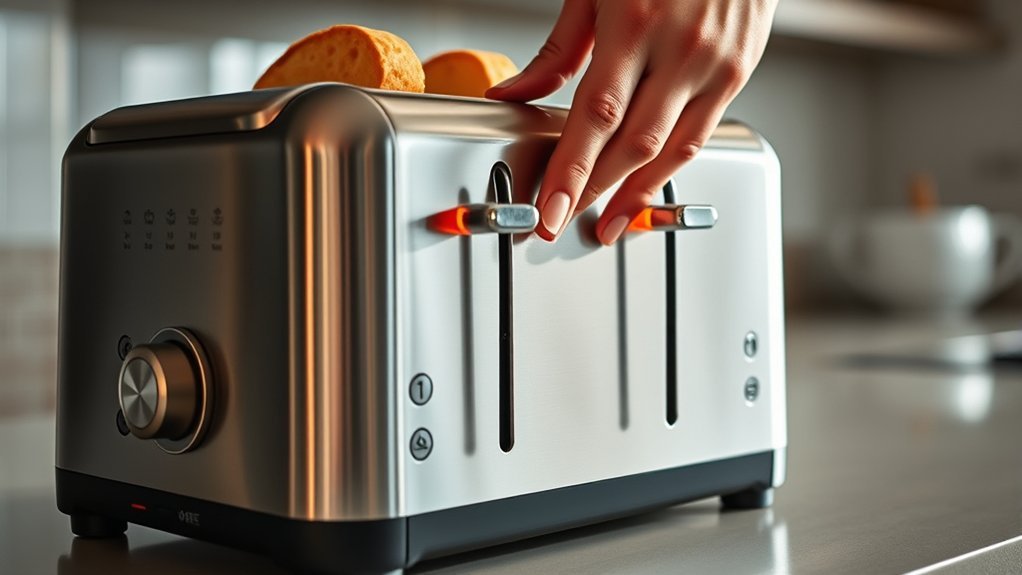
Tips for Inserting Bread Safely
How should you insert bread to ensure safety and optimal toasting? First, always unplug the toaster before handling bread to reduce electrical hazards. Use dry hands to prevent slipping and accidental contact with electrical parts.
Always unplug the toaster and use dry hands before inserting bread to ensure safety and prevent electrical hazards.
Align the bread slice centrally in the slot, ensuring it isn’t too thick or oversized, which could cause jamming or uneven toasting. Avoid forcing the bread down; let the toaster’s mechanism gently grip it to maintain internal component integrity.
When handling bread, avoid inserting metal utensils or fingers into slots, as this risks electric shock and damages heating elements. These tips safety measures help you operate the toaster efficiently and minimize accident risks.
Proper bread handling is crucial. Always keep the toaster clean and free from crumbs that can ignite during use.
Starting and Watching Your Toast
Set the toasting time according to your bread type and preferred crispness using the toaster’s control dial or buttons. Once the cycle starts, stay close and monitor the toast to prevent burning or under-toasting.
Adjust settings as needed for future use based on the results you observe.
Setting Toasting Time
To begin toasting, adjust the timer or browning control on your toaster according to the desired level of crispness. Select a browning level setting that matches how light or dark you want your toast.
Most toasters use a numbered dial or slider to control toast timing. Lower numbers correspond to shorter toast times and lighter browning; higher numbers increase both duration and browning intensity.
For consistent results, start with a medium setting and adjust incrementally based on your preference and bread type. Avoid setting the timer too low, which results in under-toasted bread, or too high, which risks burning.
Precise control of toast timing ensures your bread reaches the optimal texture and flavor. Always consult your toaster’s manual for recommended settings tailored to its model.
Monitoring Toast Progress
When should you start monitoring your toast? Begin immediately after activating the toaster. Continuous observation of toast progress is essential to guarantee optimal browning and prevent burning.
Use the toaster’s transparent window, if available, to visually track the bread’s color change without interrupting the cycle. Maintain safety monitoring by keeping your hands and any flammable materials away from the slots during operation.
If your toaster lacks a viewing window, periodically pause the cycle, if possible, to inspect the toast. Always be ready to manually stop the toaster if you notice excessive browning or smoke.
Effective toast progress tracking minimizes the risk of fire hazards and ensures consistent results, making safety monitoring a critical step in the toasting process.
Picking the Best Toaster Settings
Adjust your toaster settings based on the type of bread and desired toastiness. Start by selecting a toast timing that matches your preference for crispness, shorter for lightly toasted, longer for darker results.
Consider the bread texture; denser breads like rye or sourdough require longer toast timing to achieve even browning, while thinner or softer breads toast faster. Use your toaster’s browning control dial to fine-tune settings in increments, ensuring consistent results without burning.
Avoid setting the timer too high initially; you can always increase it after testing. Remember, the goal is to balance toast timing with bread texture for optimal toastiness. Adjustments might be necessary based on moisture content and slice thickness to prevent under- or over-toasting.
Adjust Toaster Settings for Bread Types
You’ll need to adjust the toaster settings based on your bread’s thickness to ensure even toasting. Modify the toasting time to match the bread type, preventing under- or over-toasting.
Use the crust darkness control to achieve your preferred level of browning without burning.
Bread Thickness Settings
How thick is the bread you want to toast? The bread thickness directly affects how you should use your toaster slots. Standard toaster slots are designed to accommodate bread slices up to about ¾ inch thick.
If your bread is thicker, such as artisan or Texas toast, check if your toaster slots can expand or if you need a specialized toaster. Insert the bread carefully to avoid jamming.
Adjust the toaster’s bread thickness settings, if available, to ensure even toasting. This setting controls the slot width and heating element proximity.
Using the correct bread thickness setting prevents uneven toasting and reduces risk of burning or under-toasting. Always refer to your toaster’s manual for specific bread thickness guidelines to maximize performance and safety.
Toasting Time Adjustments
When should you modify the toasting time for different bread types? You adjust toaster timing based on moisture content, thickness, and density. Denser or moister breads require longer toasting time to reach the desired texture. Conversely, thin or dry breads need shorter toasting time to avoid burning.
Use this table to guide your toasting time adjustments precisely:
| Bread Type | Recommended Toasting Time (seconds) |
|---|---|
| White Bread | 120 |
| Whole Wheat | 140 |
| Rye Bread | 150 |
| Sourdough | 130 |
| Gluten-Free | 110 |
Always start with recommended toaster timing and adjust incrementally for consistency. This ensures optimal toasting without compromising bread quality.
Crust Darkness Control
Adjusting toasting time is only part of achieving the perfect slice; controlling crust darkness fine-tunes the final result. You’ll adjust your toaster’s settings based on bread type to get consistent crust darkness without compromising toaster safety.
- Select the darkness level appropriate for your bread, lighter for white bread, darker for rye or multigrain.
- Use incremental adjustments to avoid sudden changes that risk over-toasting or burning.
- Monitor the toaster during initial uses at new settings to prevent fire hazards and ensure toaster safety.
- Clean toaster crumb trays regularly to maintain heating element efficiency and consistent crust darkness.
How to Clean and Maintain Your Toaster
Why is regular cleaning essential for your toaster’s performance and longevity? Over time, crumbs and debris accumulate inside, interfering with the toaster design and reducing energy efficiency.
To maintain optimal operation, unplug your toaster and allow it to cool completely. Remove the crumb tray, if available, and empty it into the trash. Use a soft brush or cloth to clear crumbs from the interior slots without damaging heating elements.
Avoid moisture near electrical components to prevent damage. Wipe the exterior with a damp cloth to remove grease or stains, ensuring vents remain unobstructed.
Regular maintenance preserves the toaster’s internal mechanisms and supports consistent energy-efficient heating. Performing these steps monthly helps extend your toaster’s lifespan and ensures reliable, safe functionality.
How to Troubleshoot Common Toaster Problems
How can you quickly identify and resolve common toaster issues to keep your appliance functioning efficiently? Troubleshooting varies across toaster models, but these steps apply universally.
- Check power supply: Ensure the toaster is plugged in and the outlet functions. Test with another device if needed.
- Inspect crumb tray: Remove and clean the crumb tray regularly. Accumulated crumbs can cause uneven toasting or jamming.
- Examine lever mechanism: If the lever doesn’t stay down, the latch might be faulty. Gently clean or replace the latch as per your model’s manual.
- Assess heating elements: If toast isn’t browning evenly, heating elements may be damaged. Consider professional repair or replacement.
Following these steps will help you maintain optimal performance and prolong your toaster’s lifespan.
Frequently Asked Questions
Can I Toast Frozen Waffles in a Regular Toaster?
Yes, you can toast frozen waffles in a regular toaster. Place the frozen breakfast item on the toaster slots, select a medium setting, and monitor closely to achieve evenly toasted waffles without burning or undercooking.
Is It Safe to Leave a Toaster Plugged in Overnight?
You shouldn’t leave a toaster plugged in overnight due to toaster safety concerns and overnight electric risks. Unattended devices can overheat or cause electrical faults, increasing fire hazards.
Always unplug when not in use to ensure safety.
What Materials Are Best for Toaster-Safe Bread Bags?
You should use toaster safe bags made from heat-resistant materials like silicone or specialized parchment paper. These bread packaging materials prevent burning and ensure safe toasting without melting or releasing harmful chemicals during use.
Can Toasters Be Used for Items Other Than Bread?
You can gently expand your toasting repertoire beyond bread, but consider toasting ergonomics and crumb management carefully. Items like bagels or thin pastries work well, yet avoid overly moist or thick foods to ensure optimal performance and safety.
How Energy-Efficient Are Modern Toasters Compared to Older Models?
You’ll find modern efficiency in toasters considerably improved; they use advanced heating elements that reduce energy consumption. When you perform an energy comparison, modern models consume up to 30% less power than older versions.
Conclusion
Think of your toaster as a precision instrument—like a watchmaker’s tool—requiring careful handling and regular tuning. Just as a tiny gear can disrupt timekeeping, a crumb stuck in the latch can jam your lever or cause uneven browning.
By inserting bread evenly, monitoring settings, and cleaning routinely, you assure consistent performance and safety.
Follow these steps, and your toaster will reward you with perfectly golden slices every time, just like clockwork. Proper operation of your toaster is key to enjoying its best results.