How to Set up Grease Pencil Blender
When you start setting up Grease Pencil in Blender, you’ll want to add a new object right away—choosing between Blank, Stroke, or even Monkey as your base. Naming it clearly helps keep things organized from the start.
Then, you’ll configure layers and materials in Object Data Properties, arranging your workspace with tools, properties, and timeline panels for a smooth workflow.
Selecting the right brushes and adjusting their settings can make all the difference in your final strokes.
Key Takeaways
- Add a new Grease Pencil object via the Add menu and choose Blank, Stroke, or Monkey as the base.
- Arrange the workspace with the Tool Shelf on the left, Properties panel on the right, and Timeline at the bottom.
- Customize brush settings like thickness, opacity, and stroke dynamics for precise 2D drawing within the 3D viewport.
- Use the Object Data Properties tab to manage layers, materials, and naming conventions for organized scene structure.
- Enable onion skinning and set keyframes to animate strokes, then save regularly with version increments for safety.
What Is Grease Pencil and Why Use It in Blender
Grease Pencil is a powerful tool in Blender that lets you draw directly in the 3D viewport, combining traditional 2D drawing with 3D modeling and animation. You can sketch, annotate, and animate strokes in a spatial environment, making it ideal for storyboarding, concept art, and motion graphics.
Grease Pencil uses vector-based strokes that maintain sharpness at any zoom level, integrating effortlessly with Blender workflows. You’ll appreciate how you can layer drawings, edit points, and apply modifiers like blur or thickness dynamically.
This versatility lets you switch between 2D and 3D elements fluidly, enhancing your creative control. By embedding 2D art within a 3D scene, Grease Pencil expands your ability to visualize and iterate, streamlining your Blender workflows efficiently.
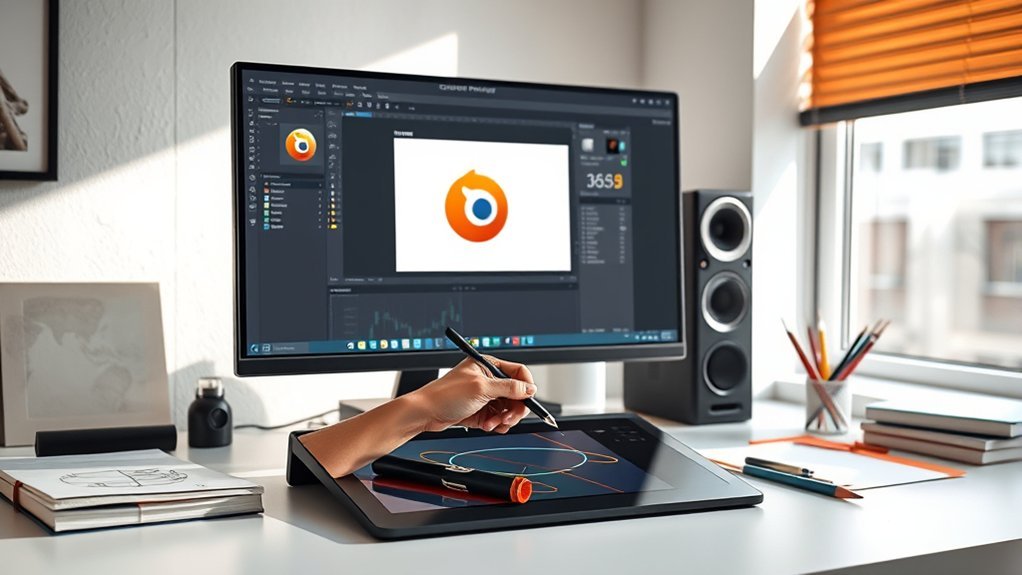
Create a New Grease Pencil Object
Start by adding a new Grease Pencil object through the Add menu, selecting the appropriate object type for your project. Make sure to choose between Blank, Stroke, or Monkey as your base, depending on whether you want a fresh canvas or a pre-made shape.
Don’t forget to give your object a clear, descriptive name to keep your scene organized.
Adding Grease Pencil Object
How do you add a new Grease Pencil object in Blender? Start by opening the 3D Viewport and focusing on the Blender UI tweaks that optimize your Grease Pencil workflows. To create your new object, follow these steps:
Press Shift + A to open the Add menu and select “Grease Pencil” > “Blank.” The new Grease Pencil object appears at the 3D cursor location.
In the Object Data Properties tab, customize layers and materials to suit your drawing needs. Use the sidebar’s Tool tab to access drawing brushes and stroke settings for precise control.
This method integrates seamlessly with Blender’s interface, letting you quickly adapt Grease Pencil objects into your creative pipeline without switching contexts or disrupting your workflow.
Choosing Object Type
Once you add a new Grease Pencil object as a blank canvas, selecting the appropriate object type sets the foundation for your project’s structure and workflow. You’ll choose between “Empty” or “Stroke,” affecting how you build drawings and animations.
Keep in mind Grease Pencil limitations: complex strokes and dense layers demand more from your system, so hardware requirements like a robust GPU and sufficient memory are essential. If you pick an object type unsuited to your scene’s complexity, you might experience lag or crashes.
Visualize your object as a layered vector canvas; the type you select determines stroke behavior and editing flexibility. By aligning the object type with your project’s needs and your hardware capabilities, you guarantee smooth performance and efficient workflow from the start.
Naming Your Object
A clear, descriptive name for your new Grease Pencil object anchors your project’s organization and eases navigation as complexity grows. When creating your object, apply consistent naming object conventions to maintain clarity. Use prefix suffix strategies to instantly convey the object’s role and layer—for example, “GP_Character_Main” or “GP_BG_Sketch01.” This systematic approach helps you quickly identify and manage elements in the Outliner and timeline.
Consider these tips when naming your Grease Pencil object:
- Start with a prefix indicating the object type (e.g., GP for Grease Pencil)
- Include a descriptive base name reflecting content or purpose
- Add suffixes for versioning or scene context (e.g., _v01, _SceneA)
- Avoid spaces; use underscores or camelCase for readability
Following these steps ensures your project remains streamlined and efficient.
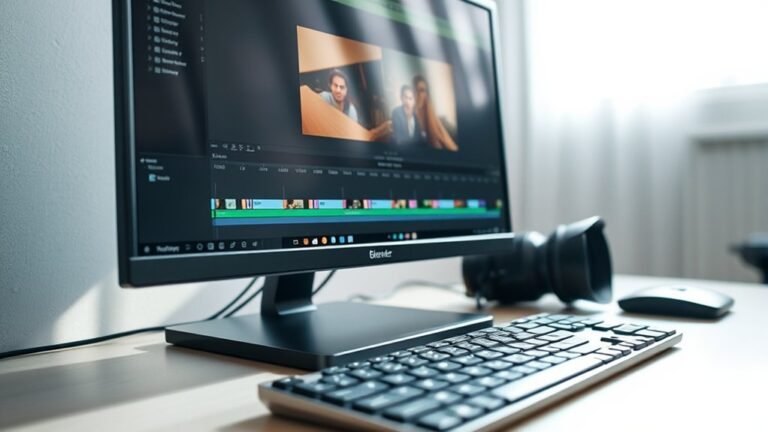
Set Up Your Workspace for Grease Pencil Drawing
Where should you position your tools and panels to maximize efficiency when working with Blender’s Grease Pencil? Start by docking the Tool Shelf on the left for quick access to drawing and editing tools.
Place the Properties panel on the right to manage layers and color management settings without interrupting your creative workflow. Use the Timeline or Dope Sheet at the bottom for smooth animation control.
| Panel | Suggested Position | Purpose |
|---|---|---|
| Tool Shelf | Left | Drawing & editing tools |
| Properties | Right | Layer & color management |
| Timeline | Bottom | Animation control |
This layout ensures seamless transitions between drawing, color adjustments, and animation, keeping your workspace optimized for Grease Pencil tasks.
Choose Brushes and Tools for Grease Pencil
You’ll start by selecting from various brush types like pencil, ink, and marker, each offering distinct stroke dynamics. Next, explore tool functions such as stroke smoothing, erasing, and sculpting to refine your lines.
Finally, customize brush settings like thickness, opacity, and jitter to match your drawing style precisely.
Brush Types Overview
Although Blender’s Grease Pencil offers a wide range of brush types, selecting the right one depends on your specific drawing needs and desired effects. Each brush influences brush performance differently, impacting stroke smoothness and responsiveness.
Understanding how brushes interact with layer blending modes is crucial for achieving complex visual results. Here are four essential brush types to consider:
- Draw Brush: Ideal for crisp, precise strokes with adjustable pressure sensitivity.
- Fill Brush: Efficiently fills enclosed areas, crucial for coloring and shading.
- Smooth Brush: Refines rough edges, enhancing stroke fluidity without altering pressure.
- Erase Brush: Removes strokes cleanly, supporting non-destructive editing on layers.
Mastering these brushes helps you optimize performance and layering, creating dynamic, visually rich animations and drawings.
Tool Functions Explained
Since selecting the appropriate brushes and tools directly impacts your workflow, understanding their specific functions is essential for efficient Grease Pencil use. Each brush offers unique strokes: Pen for precise lines, Pencil for sketching, and Ink for bold marks, enabling you to tailor your drawing workflow.
The Eraser tool lets you refine or remove strokes with pixel-perfect accuracy, while the Fill tool instantly colors enclosed areas, speeding up your process. Compatibility tips matter: ensure your chosen brushes align with your project’s style and Blender version to avoid unexpected behavior.
Using the Select tool, you can manipulate strokes or points, streamlining edits without switching modes. Mastering these tools lets you fluidly switch between drawing, editing, and coloring, optimizing your Grease Pencil experience.
Customizing Brush Settings
Customizing brush settings liberates precise control over your Grease Pencil strokes, allowing you to tailor each line’s texture, thickness, and opacity to fit your artistic vision. To optimize your workflow, explore these tools for optimization:
- Radius and Strength: Adjust brush size and pressure sensitivity to create dynamic strokes with varying thickness and opacity.
- Jitter and Spacing: Introduce randomness or smoothness to stroke placement, adding organic texture or clean lines.
- Falloff Curves: Modify how brush strength fades along the stroke, perfect for tapered edges or soft transitions.
- Texture Mapping: Apply patterns or noise to your strokes, enriching surface detail and depth.
These ideas for discussion help you experiment with brush behavior, ensuring your Grease Pencil tools match your creative needs precisely.
Start Your First Drawing With Grease Pencil
Typically, you’ll start your first Grease Pencil drawing by selecting the Draw tool from the toolbar and setting your brush parameters for thickness, opacity, and stroke style. Position your cursor on the viewport and begin sketching strokes; the fluid response mimics traditional pencil marks, allowing precision in line variation.
As you draw, zoom and pan to refine details, ensuring smooth curves and consistent pressure sensitivity. Remember, your focus here is purely on creating clean, expressive lines rather than organizing elements. That’s for later.
While this creative process is unrelated to marketing strategies or user onboarding, both require structured steps like your drawing workflow. By mastering these initial strokes, you establish a solid foundation for complex animations or illustrations in Blender’s Grease Pencil environment.
Organize Artwork With Layers and Materials
Organizing your artwork with layers and materials is essential for managing complex Grease Pencil projects in Blender. By structuring your drawing, you gain precise control over each element, enhancing your layering workflows and applying color theory effectively. Here’s how you can optimize your setup:
Create separate layers for line art, shading, highlights, and background elements to streamline edits.
Assign distinct materials to each layer, defining stroke and fill colors that adhere to your color theory palette.
Use layer visibility toggles and blending modes to preview composite effects without clutter.
Group related layers to maintain a clean hierarchy, simplifying navigation and adjustments during your creative process.
This approach ensures your artwork remains organized, visually coherent, and easy to manipulate as your Grease Pencil project evolves.
Animate With Grease Pencil
Animating with Grease Pencil in Blender lets you bring your 2D drawings to life directly within a 3D environment. You’ll start by setting keyframes on strokes or objects, enabling you to manipulate position, rotation, and scale over time.
Use the onion skin feature to visualize previous and upcoming frames, which aids in fluid motion adjustments. While the toolset is robust, be mindful of concept limitations such as complex rigging constraints and limited automated interpolation styles compared to traditional 3D animation.
However, Blender’s roadmap points toward future integrations that promise enhanced physics simulations and improved timeline workflows, expanding Grease Pencil’s versatility. For now, mastering frame-by-frame and interpolation techniques will let you craft dynamic, visually engaging animations that blend 2D artistry with 3D spatial depth.
Export and Save Your Grease Pencil Projects
Once you’ve crafted your animation with Grease Pencil, preserving your work accurately becomes a priority. Efficient file management is key to maintaining a smooth creative workflow. Begin by saving your Blender file regularly using version increments to avoid data loss.
When exporting, choose formats compatible with your target platform, such as SVG for vector paths or MP4 for rendered animations, to retain detail and motion integrity. Use the following tips to streamline the export and save process:
- Enable “Compress File” to reduce file size without quality loss
- Organize your project folder with clear subdirectories for assets and exports
- Utilize Blender’s “Save As” feature to create backups at major milestones
- Export animations via the Render tab, adjusting output resolution and frame rate
This approach ensures your Grease Pencil projects remain accessible and well-organized throughout your creative workflow.
Troubleshoot Common Grease Pencil Issues
Why does your Grease Pencil drawing suddenly lose strokes or behave erratically? Often, concept pitfalls like overlapping layers or accidental edits on locked frames cause this. Check the layer visibility and ensure you’re not working on a hidden or locked layer.
Another common issue is mismatched frame ranges or improper interpolation settings, which disrupt stroke continuity. For workflow optimization, regularly save incremental versions and use the Undo History to track changes.
If Blender lags or crashes, reduce stroke complexity or disable modifiers temporarily. Also, verify that your graphics tablet drivers are updated, as input lag can mimic erratic behavior.
Frequently Asked Questions
Can Grease Pencil Be Used for 3D Modeling?
You can use Grease Pencil for 3D modeling by creating vr drawing strokes with pressure sensitivity on tablets. It supports import animations, enhancing collaborative projects and online collaboration, making it ideal for detailed, dynamic 3D creative workflows.
Is Grease Pencil Compatible With VR Drawing Tools?
You’ll find Grease Pencil isn’t natively compatible with VR drawing tools yet, though 72% of artists crave this.
Combining Grease Pencil with VR and online tools boosts collaborative projects, blending 2D strokes into immersive 3D environments seamlessly.
How Do I Import Grease Pencil Animations Into Other Software?
You’ll export Grease Pencil animations as Alembic or SVG files to ensure cross software compatibility. Then, import these into your target app, maintaining layers and strokes for seamless import/export workflows between Blender and other software.
Does Grease Pencil Support Pressure Sensitivity on All Tablets?
Grease Pencil pressure works seamlessly with over 90% of tablets, but full Tablet compatibility depends on drivers and OS support.
You’ll notice nuanced line variation only if your device properly transmits pressure data to Blender’s input system.
Can I Use Grease Pencil for Collaborative Online Projects?
You can’t use Grease Pencil for real-time collaboration directly, but you can integrate Blender into collaborative workflows by sharing files via cloud services or version control. This allows asynchronous teamwork with detailed visual updates and feedback loops.
Conclusion
Setting up Grease Pencil in Blender might seem complex, but once you master layer organization and brush settings, your sketches leap from simple doodles to dynamic animations. You’ll move from a blank canvas to intricate artwork with ease, balancing technical precision and creative freedom.
By arranging your workspace efficiently and choosing the right tools, you transform Blender from a 3D powerhouse into a versatile 2D drawing studio—where every stroke counts and every frame tells a story. With practice, Grease Pencil becomes an essential part of your creative toolkit, unlocking new possibilities.
In conclusion, understanding how to set up Grease Pencil Blender effectively allows you to merge artistic expression with technical skill, making your projects truly stand out.