How Do You Clean a Juicer
You might assume that rinsing your juicer immediately after use is enough to keep it clean, but this approach often overlooks hidden pulp and residue that can affect performance and hygiene. Proper juicer cleaning requires a systematic method to fully disassemble and address all components, including delicate parts like mesh strainers and blades.
Understanding these steps is essential to maintain your juicer’s efficiency and longevity. So what exactly does an effective cleaning routine involve?
Key Takeaways
- Disassemble the juicer carefully, removing all detachable parts and handling sharp components with caution.
- Rinse all parts immediately after use under running water to remove pulp and juice residue.
- Use a soft brush and mild detergent to clean mesh strainers, blades, and crevices without harsh abrasives.
- Soak removable parts in warm, soapy water or vinegar solution for deep cleaning when residue is stubborn.
- Dry all components thoroughly before reassembling and store in a dry, dust-free area to prevent mold and damage.
Why You Should Clean Your Juicer
Why does cleaning your juicer matter? You might think a simple rinse routine after juicing is enough, but that’s one of the common cleaning myths. Residual pulp and juice sugars can quickly foster bacterial growth and cause mold, impacting both hygiene and the juicer’s performance.
If you skip thorough cleaning, buildup can clog filters and blades, reducing efficiency and lifespan. You should approach cleaning with precision. Disassemble components and remove all organic residues to prevent contamination.
Neglecting proper cleaning not only risks your health but also leads to mechanical wear over time. Understanding these factors helps you maintain optimal juicer function and safety, dispelling myths that minimal rinsing suffices. You need to clean your juicer meticulously after each use to avoid these issues.
Gather Tools and Supplies for Cleaning Your Juicer
How do you guarantee a thorough cleaning of your juicer? Start by gathering essential tools and supplies that facilitate efficient maintenance. You’ll need a soft brush specifically designed for juicer components to address pulp residue without damaging delicate parts.
Include a non-abrasive sponge and mild detergent for surface cleaning. Keep a microfiber cloth handy for drying and polishing. Don’t overlook gasket maintenance—ensure you have the right lubricant or cleaning agent to preserve its flexibility and prevent leaks.
Additionally, prepare a dedicated container or hook for cord storage to avoid tangling or damage during cleaning. These supplies enable systematic cleaning and prolong your juicer’s lifespan by maintaining optimal function and hygiene, setting you up for the next step: disassembling your juicer for easy cleaning.
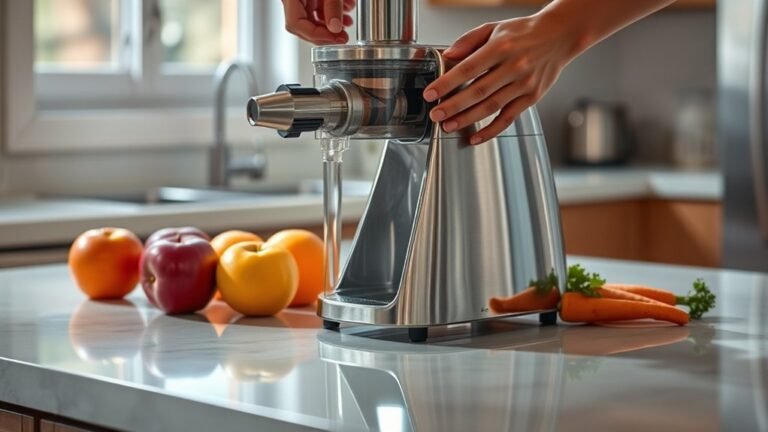
Disassemble Your Juicer for Easy Cleaning
Once you’ve gathered the necessary cleaning tools, start by carefully disassembling your juicer. Juicer disassembly is a critical step in your cleaning overview to ensure all components are accessible and free from pulp or residue buildup.
Begin by unplugging the device and removing detachable parts like the pulp container, juice jug, feeding chute, and blade assembly. Handle the sharp components cautiously to avoid injury.
Follow the manufacturer’s instructions precisely, as improper disassembly can damage parts or complicate reassembly. Organize the components systematically to streamline the cleaning process.
This methodical approach to juicer disassembly not only facilitates thorough cleaning but also prolongs your juicer’s lifespan by preventing wear caused by residual debris. Mastering this step is essential before proceeding with detailed cleaning measures.
Clean Your Juicer After Each Use: Step-by-Step
When should you clean your juicer to maintain peak performance and hygiene? You need to clean it immediately after each use to prevent residue buildup and bacterial growth. Stick to a strict cleaning schedule to ensure consistent functionality.
Follow these precise steps:
- Rinse all parts under running water to remove pulp and juice.
- Use a soft brush to clean the mesh strainer thoroughly.
- Wash components with warm, soapy water, avoiding harsh abrasives.
- Dry each piece completely before reassembling to prevent mold.
- Store your juicer in a dry, dust-free area following proper storage tips.
This routine not only preserves your juicer’s efficiency but also extends its lifespan and guarantees safe, fresh juice every time.
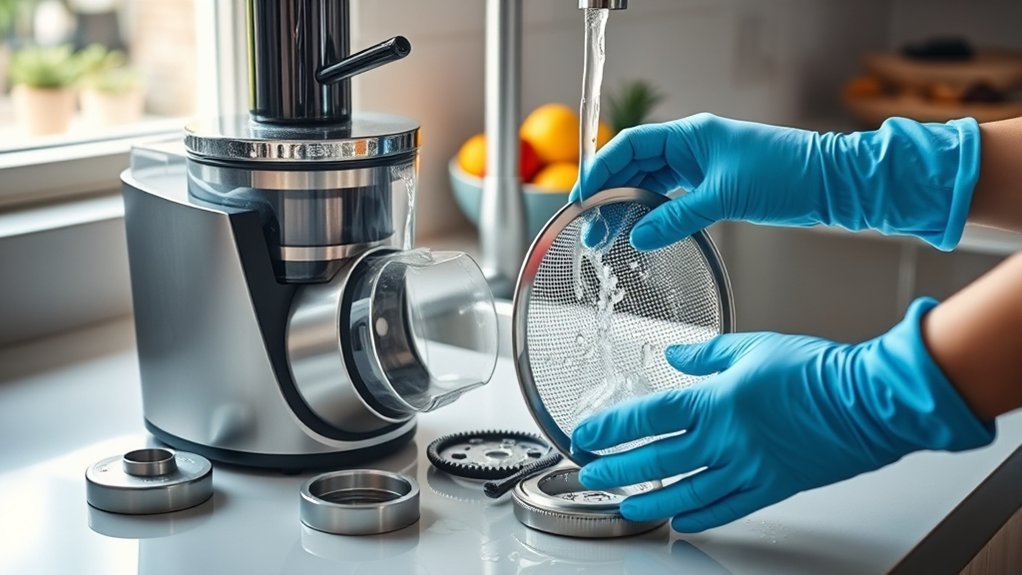
Deep Clean Your Juicer to Remove Stubborn Residue
Regular cleaning after each use keeps your juicer functioning well, but occasional deep cleaning is necessary to eliminate stubborn residue that routine rinsing can’t remove. To deep clean, disassemble all removable parts carefully.
Soak these components in warm water mixed with a mild detergent or a solution of vinegar and water for at least 20 minutes. This helps break down and loosen dried pulp and mineral deposits. Use a soft brush or toothbrush to scrub crevices, mesh filters, and blades where residue accumulates.
Avoid abrasive materials that might damage delicate surfaces. Rinse all parts thoroughly with clean water to remove cleaning agents and loosened debris. Finally, dry completely before reassembling to prevent mold growth.
Performing a deep clean regularly ensures your juicer maintains optimal performance and longevity by effectively removing stubborn residue.
Maintain Your Juicer Between Cleanings
You should establish a daily rinse routine to prevent juice residue from hardening inside your juicer. Quickly rinsing each component after use minimizes buildup and simplifies your next deep clean.
Consistent maintenance preserves the juicer’s efficiency and extends its lifespan.
Daily Rinse Routine
A quick rinse routine notably reduces residue buildup and eases thorough cleanings later. Implementing a daily rinse ensures your juicer’s components don’t accumulate pulp or juice deposits, which can harden and complicate maintenance. Focus on two word discussion ideas like “daily rinse” and “residue removal” to keep your routine straightforward and effective.
Follow these steps for an efficient daily rinse:
- Disassemble juicer parts promptly after use
- Rinse each piece under running water immediately
- Use a soft brush to dislodge trapped pulp
- Avoid soap on delicate mesh filters daily
- Dry parts thoroughly before reassembling
This precise, analytical approach keeps your juicer hygienic and functional between deep cleanings.
Preventing Juice Residue
Juice-residue buildup can impair your juicer’s performance and shorten its lifespan if not managed between cleanings. To maintain efficiency, focus on preventing residue and sticking by promptly disassembling and rinsing components after each use. Use a soft brush to clear pulp from hard-to-reach areas and avoid letting juice dry inside.
Additionally, applying a light coating of food-safe oil on metal parts can reduce sticking.
| Action | Benefit |
|---|---|
| Immediate rinsing | Prevents residue from drying |
| Soft-bristle brush | Removes stubborn pulp |
| Food-safe oil application | Reduces sticking on metal surfaces |
| Avoid prolonged soaking | Prevents corrosion and damage |
| Regular inspection | Identifies residue buildup early |
This approach minimizes residue accumulation, ensuring optimal juicer function and longevity.
Common Juicer Cleaning Mistakes to Avoid
How often do cleaning errors reduce your juicer’s efficiency and lifespan? Many fall prey to cleaning myths that overlook the gadget’s ergonomics, causing damage and poor performance.
Avoid these common mistakes to maintain peak performance:
- Using harsh abrasives that scratch delicate components
- Neglecting immediate cleaning, allowing residue to harden
- Submerging electrical parts, risking short circuits
- Overlooking hard-to-reach crevices due to complex design
- Relying on dishwashers without confirming manufacturer guidelines
Frequently Asked Questions
Can I Put My Juicer Parts in the Dishwasher?
You can put some juicer parts in the dishwasher, but always check the manufacturer’s guidelines for dishwasher safety.
Typically, plastic and metal components are dishwasher-safe on the top rack, but delicate parts may require hand washing.
How Often Should I Replace Juicer Filters or Screens?
Though screens seem durable, you should monitor their wear closely; replacement frequency typically falls between 6 to 12 months, depending on usage intensity and juice type.
Regular inspection ensures optimal performance and prevents clogging or damage.
Are There Natural Cleaners Safe for Juicer Cleaning?
Yes, you can use natural cleaners like vinegar and baking soda, which are plant-based solutions. They effectively break down residue and sanitize juicer parts without harsh chemicals, preserving the appliance’s longevity and ensuring food safety.
Can I Clean My Juicer With Vinegar or Lemon Juice?
You can gently coax your juicer back to freshness using vinegar safety protocols. Diluted vinegar effectively dissolves residue without harm.
Lemon juice viability also shines; its natural acidity breaks down buildup, making both options technically sound for cleaning.
How Do I Prevent Mold Growth Inside My Juicer?
To prevent mold growth inside your juicer, dry all components thoroughly after cleaning and store them in a ventilated area. Perform mold prevention by cleaning immediately post-use, avoiding moisture retention that fosters mold development.
Conclusion
Cleaning your juicer after each use not only preserves its performance but also prevents up to 80% of bacterial buildup, according to studies on kitchen appliance hygiene. By disassembling and thoroughly rinsing parts regularly, you can maintain a clean and safe juicing environment.
Performing periodic deep cleans ensures top-notch juice quality and helps extend your juicer’s lifespan. Avoiding common mistakes, such as skipping gasket maintenance, keeps your machine efficient and reliable.
Consistent, precise cleaning is essential for both safety and functionality. Remember, proper cleaning your juicer habits significantly contribute to the longevity and performance of your appliance.